Sunday, October 17, 2021

The Twelve Cookies of Christmas-A Trio of Shortbreads


The Twelve Cookies of Christmas-A Trio of Shortbreads

Last year I did a cooking project called The Twelve Weeks of Christmas, where I explored Christmas cooking and baking traditions from around the world. I had a lot of fun with it and decided to do another edition of it this year, but focusing on Christmas cookies. Unfortunately, I miscalculated the time and should have started this two weeks ago. Because I was able to scramble and do three cookie recipes this weekend, I'm caught up to where I should be, but naming it "weeks" in the project title no longer makes sense since I'll only be doing ten posts. I decided to rename it "cookies" instead, since that is still going to be accurate.

So, this weekend, I ended up making a trio of shortbread cookies: Almond shortbread, Orange Cornmeal Shortbread, and Brown Butter Pecan Shortbread. All of them have online sources, so I won't be typing out the recipes, for copyright reasons. I'll share the links though.

First up was this recipe. I make shortbread cookies almost every year and they take a lot of time and effort. I was shocked to see that there are recipes that are so much easier even if they have more ingredients! The almond shortbread was one of them.

I've never tried to use a pastry cutter before to make shortbread, but I didn't feel like lugging out my mixer and tried that instead. It worked really well! I highly recommend it!
I've never made shortbread this way before. Freeze a pie pan and press the dough into it. Then freeze it again for a bit so it solidifies. This is a small batch, but it's worth it!
Press the almonds on top before baking. The pie pan went right from the freezer into the hot oven and had no problems. I was nervous that it might shatter, but pyrex is great stuff!

Here is the final product. Brown sugar adds a different flavor to the shortbread, and the almonds add a great texture. These get cut into triangles. I think they look quite elegant.

The second recipe was this one. I've never had orange or cornmeal in shortbread before, so it was fun to try this one. I made the first two on Saturday, before going to a small family gathering Saturday evening.

I can't believe it took me till now to try out the pastry cutter. I don't think I'll ever use a mixer again! This one is started off more like the one I make each year, with butter and powdered sugar.
I also learned that you can add the orange zest without chopping it into smaller pieces, and the pastry cutter will cut it as it helps blend it too.
Once the dough comes together, you roll them into logs and wrap them in plastic. I took these to my family gathering and actually baked them there.
When you're ready to bake them, you roll the logs in the rest of the cornmeal. This will give it a great and very unique texture.
It made at least twice as much as the recipe says it will. Luckily, the sheetpan was big enough to fit all of them on in one batch.

This is what they look like after baking. My family all seemed to enjoy this one and the almond shortbread too. It turned out great, because I rarely am able to involve my family in these recipes and they were able to try them right out of the oven.

My third recipe, was Brown Butter Pecan Shortbread. 

This had the most prep work involved, so I did it today when I had more time. First you toast and grind the pecans, then you brown and strain the butter. Above is the finished product for both of those.
This one used white sugar. All three recipes used a different type of sugar. It just shows you how versatile shortbread really is. I was also struck by how easy it was to make all three of these recipes. No matter how fancy they are, the main concept remains the same.
Here is the two kinds of butter mixed with the sugar.
And with all the ingredients mixed in. It's very crumbly, but it comes together very well and easily.
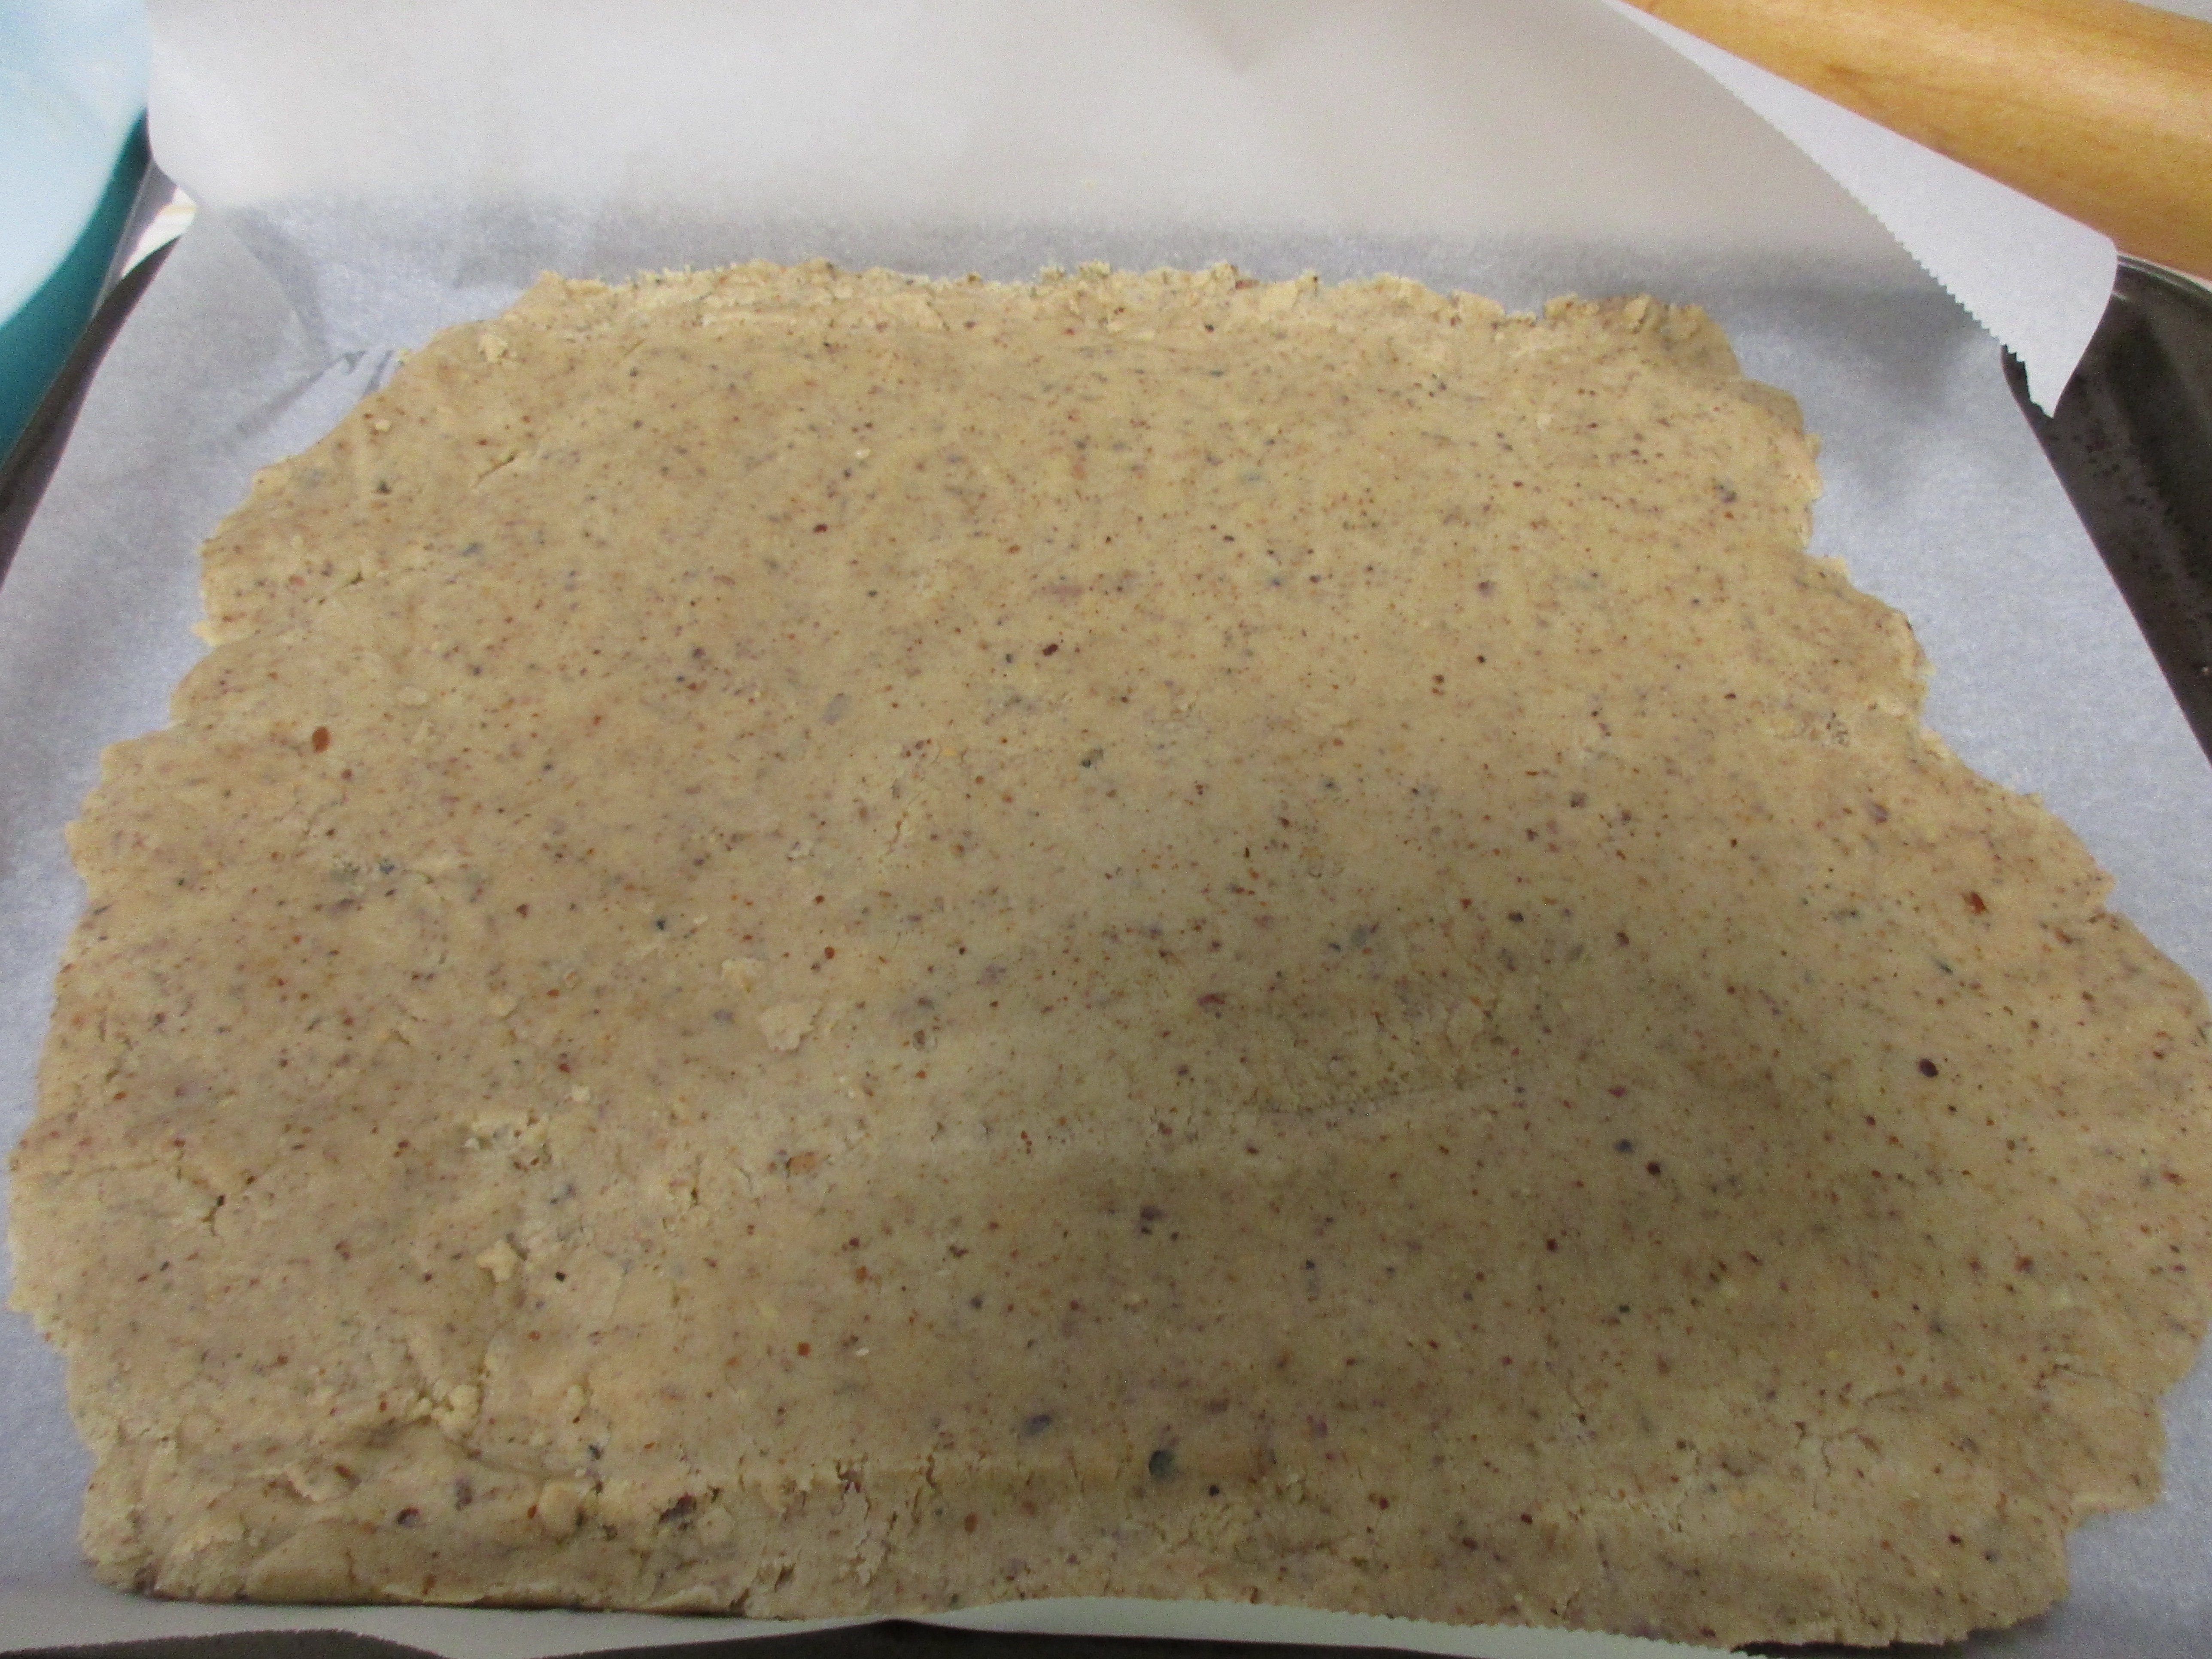
This recipe calls for being patted out to a large rectangle and I tried out something new that again I think I'll work into my annual shortbread making that makes it so much easier. Roll and pat it out right in the sheetpan, on parchment paper. I can't believe I've never tried this before, it's ridiculously easier...
Then you prick it with a fork all over the surface to keep it from puffing up.

And after you take it out of the oven, you cut them into bars. This one is a really light-tasting shortbread. There isn't a lot of sugar, so it's not very sweet. The texture is great, though. I was nervous that the recipe doesn't chill at all. What kind of shortbread doesn't have a chilling step? This one, apparently. But I think they turned out just fine!

I plan on freezing some of these to share with my coworkers this week, and then maybe keeping the rest for Christmas. The idea with this project was that I would do a blend of freezable and non-freezable recipes, and do the freezable ones earlier on. All three of these turned out really great and I'm very excited to share them with others!

I am very tired after a whirlwind, unplanned triple shortbread baking adventure this weekend! Starting next weekend, it'll be one recipe a week. Hallmark also starts up their Christmas movie extravaganza and I am looking forward to watching new movies and eating Christmas cookies at the same time!!

Happy Baking!


Tuesday, May 11, 2021

Spring's Bounty: Rhubarb Cobbler


Spring's Bounty: Rhubarb Cobbler

Well, it's been a couple weeks since I had a recipe good enough to write up. This was a really easy and delicious recipe, so I'll be sharing it!

Rhubarb Cobbler(source unknown)

4 cups thinly sliced rhubarb

1 cup sugar, divided

1 Tbsp. cornstarch

1 cup unbleached white or whole wheat flour

1 1/2 tsp. baking powder

1/4 tsp. salt

1/4 cup cold butter, cut into cubes

1 egg

1 tsp. vanilla

1/4 cup milk

Preheat oven to 350 degrees. Toss the rhubarb with 1/2 cup of sugar and the cornstarch. Arrange the rhubarb in an 8"x8" casserole dish.

Combine the remaining half cup of sugar, flour, baking powder, and salt in a mixing bowl. Cut in the butter with a pastry blender until it is the consistency of coarse cornmeal. 

Beat the egg and vanilla into the milk and add to the flour mixture, stirring just until moistened. Drop the batter onto the fruit. Bake for about 25 minutes or until the fruit is bubbly and the topping is golden.

Serve with ice cream or whipped cream.

Makes 6 servings.

My traditional gathered ingredients picture before I get started.
You don't have to grease the dish, which is really nice. I mixed the sugar and cornstarch with the rhubarb in a dish and then poured it in here, but you could probably mix it in the dish just as easily, if you wanted to save a dish.
Dried ingredients after the butter has been cut into it.
Here are the wet ingredients mixed and ready to go.
And here is the finished dough! It's sticky, it's basically sweet dumplings, so that makes sense.
I dotted the dish with the dough, but you could probably just spread it out evenly, if you wanted.
As  you can see, it does spread out as is bakes. This ended up taking about 45 minutes, just keep testing the in dough, it'll be done on top, but not on the bottom. It'll always be a bit gummy on the bottom, but the center should be cooked through, and you'll see it'll keep getting browner on top and it's really lovely!
You can see how the sugar, cornstarch, and rhubarb turns into a syrup. You'll want to use a spoon to serve and eat this.

This was really good! I ate mine warm with the cool whip melting into it and the vanilla really comes out and the tart/sweet of the rhubarb is just delicious. It's so easy to make this, but it looks and feels really fancy! I'm looking forward to trying it at room temp too tomorrow. I will be taking some to work to share with my coworkers, but I just might eat the rest of it myself!!

If you are a rhubarb newbie, like I am, this is a great starting point. It's not a complex recipe and the rhubarb is the star of the show. I'm so excited to have a winner recipe again!


Sunday, April 18, 2021

Spring's Bounty: Berry Rhubarb Parfait


Spring's Bounty: Berry Rhubarb Parfait

One of the reasons I wanted to keep going with these projects was to force myself to try recipes I've had forever but for some reason have never had the guts to try. This was one of them. I think I've been intimidated by working with rhubarb, something I wasn't familiar with, and didn't always have good luck finding at the store. I shouldn't have waited so long, because this was super easy to make and really good! Since I don't have a source listed for this one, I'm going to list out the recipe here and will post pictures below it.

Berry Rhubarb Parfait

3 cups sliced fresh or frozen rhubarb(1" pieces)

1/3 cup sugar

1/4 cup orange juice

2 cups light whipped topping

1 pt. fresh strawberries, halved

Fresh mint, optional

In a saucepan, combine rhubarb, sugar, and orange juice; bring to a boil. Reduce heat; cover and simmer for 6-8 minutes or until rhubarb is tender. Cool slightly. Pour into a blender container, cover, and blend until smooth. Chill.

Just before serving, fold rhubarb mixture into whipped topping until lightly streaked. In 6 chilled parfait glasses, alternate layers of cream mixture and strawberries. Top with strawberries and a sprig of mint, if desired.

Makes 6 servings.

Not a long list of ingredients for this one. Yes, I use Cool Whip. Or the store brand version, I'm not picky. As a lactose intolerant person, this is an important item in my life, even though they put a small amount of dairy back into it a few years ago. It seems to be a low enough level that it doesn't bother me, thankfully.
Rhubarb is not difficult to work with at all. It's a bit like celery to cut. I ended up not having 3 cups, but it still worked out in the end.
Here it is all cooked down and ready to cool off a bit.
It turned out to be so soft that I didn't need to use a blender. I just used a wooden spoon and stirred and mashed it and that's really all it needed. If you don't have a blender, you can just to that instead.
Several hours later, I chilled the mashed rhubarb mixture and stirred the Cool Whip into it. It's not as vibrant in the picture, but it's a nice pink color. It's pretty sweet, but not sickly sweet. It might have been less sweet if I'd had enough rhubarb.
Here are all the elements ready for assembly. Strawberries are starting to look really nice now at the store, so stock up!
I don't have parfait glasses but this is a clear drinking glass that did just as good a job. It's hard to tell, but there are multiple layers of strawberry slices in all of that!

Pretty strawberries for the top! I don't have mint, so I didn't put that on, and didn't miss it. 

This one was really good. It's light and indulgent but not really that indulgent. I made my sister try it and she approved. She said it was like eating strawberry shortcake without the shortcake, which I would agree with. This would be good with angelfood cake or shortcake or crushed cookies mixed in the layers too, if you wanted. I think crushed gingersnaps might be good because it would add a nice crunch. That was an element missing from this. But I really liked this one. It definitely embodies spring!

If you want to try something light and different and fruit-based, definitely give this a try. If you've been putting off trying to cook/bake with rhubarb too, this is a good easy level recipe to try it with. You won't be disappointed!


Sunday, April 11, 2021

Spring's Bounty: Chicken with Mustard-White Wine Sauce and Spring Vegetables


Spring's Bounty: Chicken with Mustard-White Wine Sauce and Spring Vegetables

Today's recipe was this, and it was a winner! It's always nice to start a new project off on a good note! My spring recipes that I have chosen are a mix of desserts, sides, and entrees, so there will be a mix of food types I explore. Tonight's was an entree, and made enough dinner for tonight and tomorrow. Here's how it all went:

I love a good potato and/or veggie roast. It's one of the healthier ways to prepare them, and it's always ridiculously delicious. I am not a huge cooked carrot fan, so I was not sure how I'd like the carrots, but I kept them in the recipe anyway. I love shallots, and think they're woefully underutilized and underappreciated. This is pre-roast.
And this is post-roast. The chicken is supposed to be boneless skinless thighs, but I had regular ones that I removed the skin and most of the fat from. I kept the bone in because it's too much work, and just increased the cooking time in the oven.
Look now nice and browned the chicken gets! This is just before it goes into the oven to finish cooking. I cooked them a total of 20 minutes, turning halfway through and they came out just perfectly cooked.
Here is the pan sauce. Really easy to make with a flour slurry. The white wine and Dijon mustard is a classic combo. I didn't have fresh herbs, so I used dried and it turned out just fine.
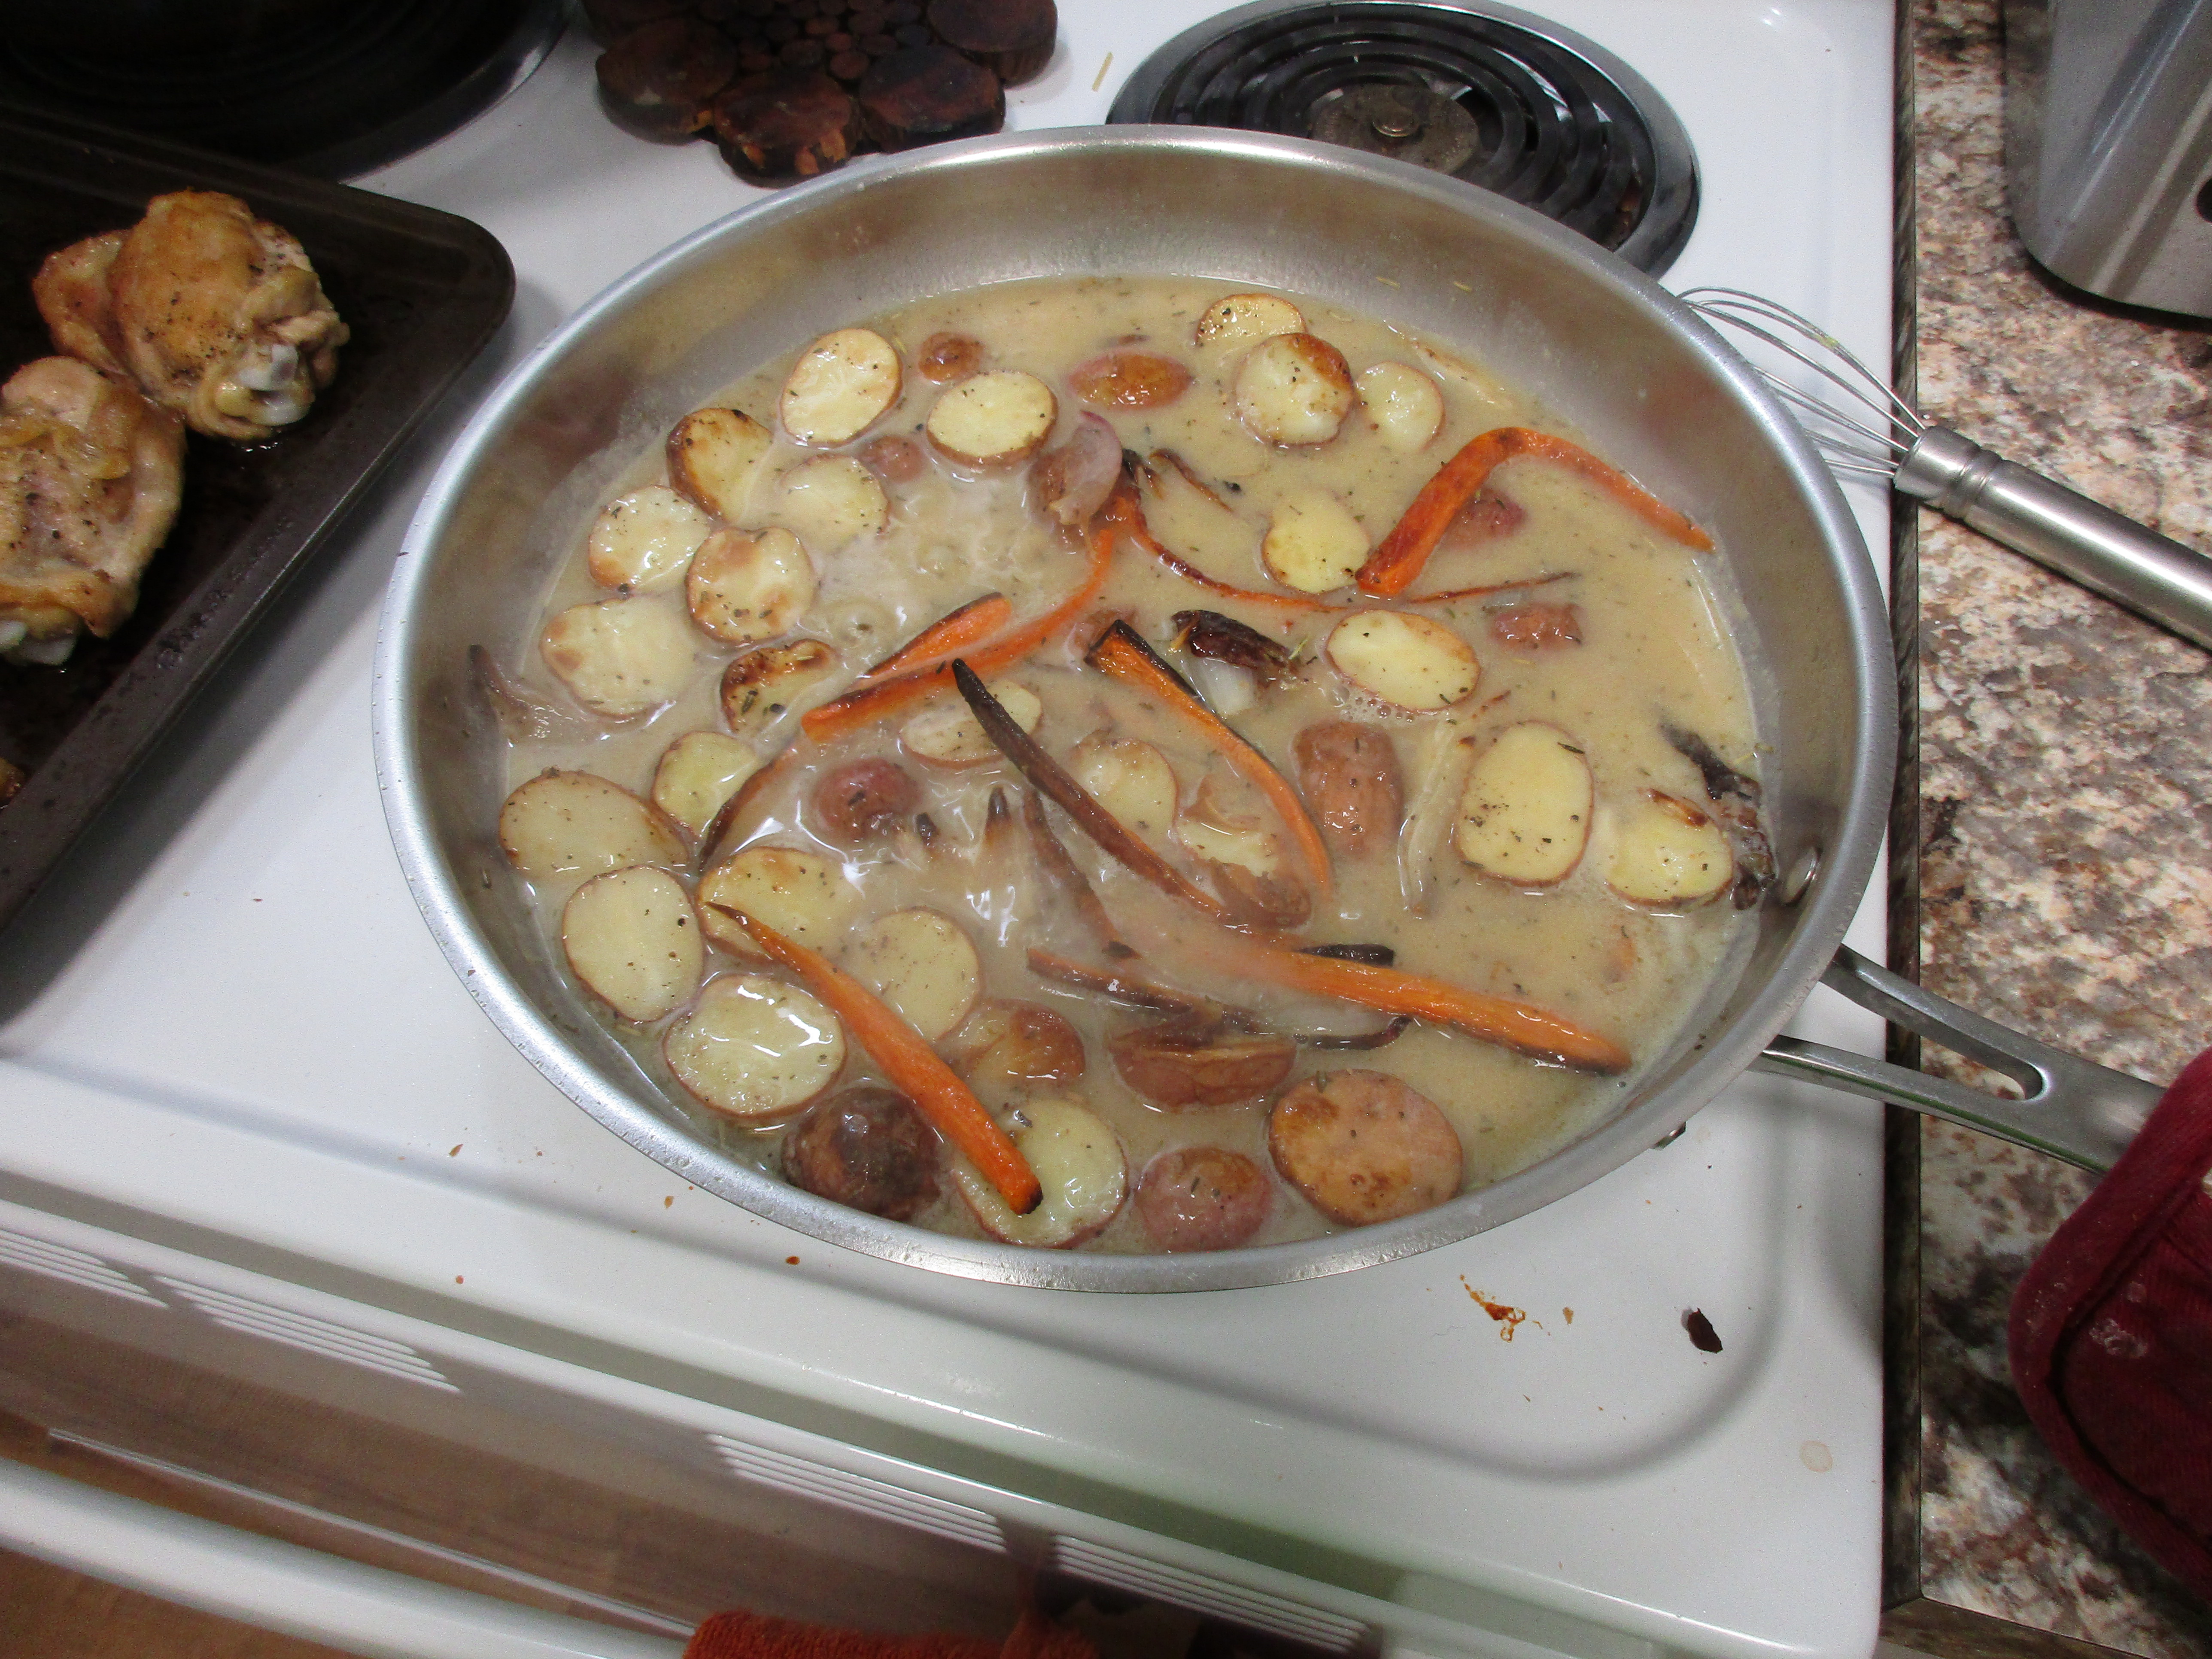
Here are the veggies heating up again in the sauce. You could easily have added the chicken to this and mix it all together, if you wanted.

Here is the final delicious product! The carrots, the one thing I'd been the most nervous about liking, were fantastic! Apparently I just haven't been cooking my carrots the right way, because roasting them was amazing! I'm really excited to try roasting them more often now and adding them to my diet.

I really loved this recipe. It isn't super quick to prepare. I'd allot at least an hour for this one, don't start it at 6pm like I did...! It's nice and filling, but not heavy. This is definitely one I'd make again. I mean, what's not to love about chicken and potatoes and sauce, right?!!


Sunday, April 4, 2021

The Baker's Dozen: Triple Citrus Scones


The Baker's Dozen: Triple Citrus Scones

So, we have come to the end of this delicious bread project! Thirteen weeks ago, I started with panettone, and today, we have a lovely spring scone for Easter! I used this recipe, and I think it turned out really well! This is a great recipe for spring. Here's how it went!

This has a surprisingly large list of ingredients for scones. Since the buttermilk quantity was so small, I just made my own with milk and vinegar, rather than buying buttermilk from the store.
Look at this gorgeous pile of zest! It smells even better than it looks. I did cut it up into smaller pieces before adding it to the food processor.
Here is the butter cut into the dry ingredients. The zests are in there but you can't see them very well.
Here is the wet mixture. I juiced the orange I zested and used it for this. I juiced all the fruits and what did not get used in this, will be used for other recipes. Never waste citrus juice when you buy fruit to zest!

This is just barely mixed. It looks pretty dry, but don't worry, it'll work out in the end.

Beginning to roll it out on the table. It's pretty dry and crumbly, but keep working with it.
It will end up like this! Now you can see the zest showing through better.
Cut into 8 pieces, hopefully equal pieces!
It's hard to see, but these have the melted butter and sugar sprinkled over the tops. Ready for the oven!
This is the glaze. It's really thin, it is NOT an icing. It's really fresh though, this is just such a great time of year for zest!
Scones, out of the oven. I ended up doing about 17 minutes, but I probably should have done one or two minutes more.
Post-glazing. I did about three layers of glaze and I did the backs and sides too. I figured why waste good glaze?! The zest doesn't want to stay on the brush, so you might have to spoon those on or sprinkle it on with your fingers after.

Here is the inside of one, pre-butter! Like I said, I think it ended up needing another minute or so, but I also think the glaze needs to set really well. The top half was a little doughy, I think, but the bottom half was perfect. I think the glaze possibly softened the bread a bit and needs to set before you eat them.

I read some of the comments on the website this recipe is from and some people added dried cranberries to theirs and I think that would be a fantastic addition. If I make these again, I'm totally going to do that!

Well, 13 weeks have come to an end! I've had more winners than losers, I've had a ton of fun, and used more flour and sugar in that time than I typically do in a whole year! But don't worry, I'm not going to stop blogging and making things. I will be starting a 9 week project next week to try out springtime recipes I've had in my recipe collection forever but have never actually tested out. It'll be less baking and more cooking, but a little bit of everything, featuring fresh, springtime ingredients! Stay tuned!