Friday, September 27, 2019

Calling All Tea Drinkers!

Today, this article came out talking about a study showing how microplastics are leaching into our tea, due to plastic-based tea bags or the plastic used to seal tea bags. This applies even to paper-based teabags. Now, according to this article, there is little or no known risks to ingesting microplastics, as most of it just washes out of our bodies. However, it also states that there needs to be more studies done on it to make certain that's the case. Now, I don't know about you, but even if there is not a lot of known risk to drinking plastics, I'd rather not, if I don't have to.

There are plastic-free tea bags available, but they tend to be hard to find and very expensive. I can't really justify that expense. I'm also trying to find more environmentally-friendly options for tea and was already looking into this when this news story came my way. The obvious best choice for less packaging and no plastics, is of course, loose tea leaves. Many grocery stores sell loose teas in bulk in a multitude of flavors that you can buy in as large or small a quantity as you like. I highly recommend switching to loose tea. It's not only the most environmentally-friendly option, but it's the most affordable one too. It's a win-win for tea drinkers.

Well, if you're going to switch to loose tea leaves, you're going to need at least one accessory you may or may not own yet: a tea steeper. They come in every shape, size, and in many different materials, but I only use one kind:
I have a silver one that has a mesh-style bulb. It's all metal, which is important to me. There are plastic tea steepers, but that just puts you right back in to the plastic issue. There are silicon ones, and I don't know much about silicon, it might be perfectly harmless, but I do know it doesn't come from a garden. I prefer metal because it holds up better, lasts longer, and has less of a chance of leaching stuff into my tea that isn't tea. You want something with small holes, or mesh, to keep even the smallest pieces from getting into the water. This is the perfect style. There is another metal one I have tried that you might think is a good option, but I do not recommend it. That is this one:
It's metal and mesh, so it should be perfect, right? Wrong! See how the sides come together and there is a little clip that holds them? That clip comes undone and will spill tea leaves into your water. I have ruined a few cups of tea with these before. I do not recommend!

There is one more accessory you will need, that you may not already have: a tea bag holder. This might seem like an unnecessary item, but your steeper will continue to drain liquid when you've finished and you will damage surfaces without putting it on something that will contain it. These are super cheap and most are machine washable, so you can just throw it in your dishwasher with the rest of your dishes.

So, now you're all set for loose tea leaves, you're ready to go! But what to do I do with all my boxes of tea bags? You are probably asking yourself this right now. I contemplated this for a bit today and came up with what I think is an ingenious idea. Take the tea steeper, cut the teabag open, and pour the tea into the steeper! Use up your old tea, so you don't waste it, and then switch to loose leaf tea. You can compost the tea leaves when you finish with it.

I, of course, am not telling you what to do, but I would imagine that you, like me, have some concerns about the idea of drinking microplastics in your tea. I think it's very important to be informed, so if tea is an important part of your life, you might want to look into this and decide if this is something that bothers you, or not. The good news is, there are easy fixes to this issue!

Sunday, July 7, 2019

What's in Grandma's Recipe Tin?-Ham-Kraut Bake


Today's recipe comes courtesy of the April, 1966 issue of Family Circle magazine. It's a clip-out recipe card so rather than write out the recipe here, I took a picture of it instead!
As you can see, the recipe isn't terribly involved and has a minimal amount of ingredients. I already had an opened jar of sauerkraut in the fridge that needed to get used up, so this was the perfect recipe for it. And sadly, it's been so cloudy and cool here that the thought of an oven-baked casserole doesn't seem inappropriate, even though we're in post-July 4th Seattle, and it's supposed to be hot and sunny now.

This recipe was super easy, and can be made ahead of time. I actually made it in the morning and left it in the fridge to bake for lunch. It doesn't say exactly what kind of pan to use, but I used an 8"x8" pan and it fit just perfectly.
Here's the obligatory ingredient line-up shot. As you can see, there's not a lot involved! To make 2 cups of diced ham, you'll need 1.5 (8oz) ham steaks, so make plans to use the other half in something else, or buy the already diced kind from the store. I don't like that kind as much though, cuz the texture always seems off.
Here is the drained sauerkraut. I tried pressing it with a fork in a colander but it doesn't do much. You will need to actually squeeze it with your hands to drain it. You'll be surprised at how much you get to drain out. Fluff it with a fork afterwards and it'll make it easier to stir everything else into it.
Here's the ham, first apple, and half the brown sugar all mixed together.
And here it is in the greased pan.
Core and slice the second apple and mix in the last 2 Tablespoons of brown sugar and cinnamon.
Arrange them on the top in a slightly overlapping pattern. It calls for you to cover it before placing it in the oven, so at this point you can refrigerate it  for as long as you want before baking it. This would be something you could make the ing morning or night before you bake it.
Here it is, out of the oven, ready for lunch! I cooked basic egg noodles to serve with it, but you could use spaetzle, boiled potatoes, roasted potatoes, or whatever you feel like as a side.
Here's the finished product on the plate. I mixed the noodles in with it and ate it altogether. The sour, salty, and sweet all blended well together but I found it ultimately too sweet. I would probably cut the brown sugar in half next time. I used "Envy" apples with are red, have a great texture, but are really sweet. I would say Granny Smiths would be a good option, but it won't have that lovely touch of red from the peel. Look for a red apple that isn't too sweet. Not sure what kind that might be, but based on this being a recipe from 1966, "red apple" probably meant Red Delicious, as gross as those can be. Maybe it would work? I also wanted to add some caraway seeds to this, which isn't called for in the recipe, but I think it would be a great flavor in this mix.

This was a really simple recipe that sauerkraut lovers will enjoy a lot. Alter the sugar content and type of apples if you want it less sweet. This dish reminded me of Easter dinner in our family and my sister commented that it smelled like Easter. It would be a good alternate dish if we ever wanted to try something different but similar at the same time. Maybe I'll make this for next year's Easter so my grandmother can try one of her own recipes she saved over the years!

Happy Cooking!
-Foodie


Sunday, June 23, 2019

What's in Grandma's Recipe Tin?-Corn Gems

This week's recipe was a simple, yet very tasty, cornbread muffin. Wednesday, June 19th was Juneteenth, and I wanted to celebrate the holiday. Traditional foods for this holiday are picnic-style foods, as well as something red to drink. In addition to the muffins, I also whipped up a batch of my potato salad recipe. I was going to make a boxed variety of cornbread muffin but I was lucky enough to find the perfect recipe to try in my grandmother's recipe tin, so I made that instead. Everything turned out great!

This recipe is a clip-out recipe card from the Family Circle magazine, from June of 1966. It's a quick recipe, I whipped it up after work in the evening and I don't think it took much longer to make than a boxed variety would have taken to make.
Here's all the ingredients, minus the shortening that was melting on the stove. I always like these line-up shots!
First things first, all the dry ingredients are mixed in a bowl. I sifted the flour before measuring it, and then sifted it again with all the other dry ingredients before adding the cornmeal and whisking well.
Here it is after you mix in the egg and buttermilk.
And here is the final product after you stir in the melted shortening. The difference is subtle, but you can see that it is a bit smoother than without it.
Here we go into the muffin tin! The bottom and sides did want to stick to the paper liners a bit, so you might consider spraying the liners with cooking spray just to help combat that.
And out of the oven, exactly the 20 minutes it calls for seemed to do the trick.
Here was my final dinner plate. I made the potato salad the night before, and bought the chicken from the deli that night. The red drink next to it is a store-bought frozen juice concentrate I got to help with my plantar fasciitis. What?-You're probably asking me right now. Yep. It turns out that rolling a frozen can of juice concentrate helps stretch and ice the muscles in your foot. And then you get to drink the juice afterwards. (My feet were clean and I had a towel over the can, don't worry!)
I ate the muffins with butter, and a glug of sorghum syrup to dip them in. The sorghum syrup was really tasty with it! I highly recommend this. The only thing to keep in mind with this recipe is that it doesn't not hold out over time. I tried them the next night and they were too dry to be edible. If you make this recipe, I recommend sharing it with others and eating it all the same day you make them.

So, there you have it! A really basic, simple cornbread muffin recipe that is a great starting place if you're not familiar with making them from scratch. It has just enough sugar to be slightly sweet, but not overly sweet like a lot of boxed varieties can be. This is a fast recipe, so don't worry about waiting till after work to make it. And for the most part, it's all ingredients people tend to have on-hand. All I had to buy was the buttermilk, which I never keep on-hand.

I encourage everybody to study up on Juneteenth, and try out this recipe next year to join in with the celebration! Happy eating and celebrating!

-Foodie


Sunday, June 9, 2019

What's in Grandma's Recipe Tin?-Piña Colada Cheesecake

All right, so this week's recipe was a fun one! It presented quite a challenge to me, one I really enjoyed conquering! I chose this cheesecake recipe for a specific reason. One of my friends has some health issues that makes eating difficult, and this weekend is the Jewish holiday of Shavuot/Shavuos, the "dairy" holiday, as she explained it to me. She encouraged me to eat as much dairy as I possibly can this weekend in her stead, and I happily stepped up to the challenge! And as her grandmother passed away just a couple days ago, I thought if I could find a good recipe that fit the dairy bill, I could use my grandmother's recipe, to honor her grandmother's memory. So, I looked through the box and found one cheesecake recipe that has cream cheese, butter, and sour cream all in the ingredient list. That's quite a bit of dairy in one recipe, so I knew it was the perfect one to try out.

The recipe's original title is "O Grancho Cheese Cake" or at least that's what it looks like written on the card. There is no known source of this recipe written on the card, so I don't know if that's the name of the person who created the recipe or a company from long ago that created it, or what, but to me, it means nothing. And it tells me nothing about the cheesecake. I looked at the list of ingredients to see if anything stood out. Crushed pineapple in the batter, and coconut flakes in the crust. Bingo! Piña Colada Cheesecake, a much better and accurate name for this recipe.

As I said, this recipe presented me a few challenges. There were very little instructions on what to do to make the crust other than "mix and press in buttered spring-form pan," and that basically tells me nothing. I had to guess and hope for the best. Fortunately for me, it all worked out rather well! And as it turns out, you don't need to butter the pan. So, without further ado, let me share the recipe with you:

Piña Colada Cheesecake

16 oz. cream cheese
2 tsp. vanilla
1 1/4 cups sugar
3 eggs, beaten
3 cups sour cream*
1 can crushed pineapple** (reserve the pineapple juice)
Crust:
1 cup Graham cracker crumbs
1/2 cup slivered blanched almonds, toasted
1/2 cup coconut flakes
1/2 cup butter
1/2 cup sugar
1/2 tsp. almond extract

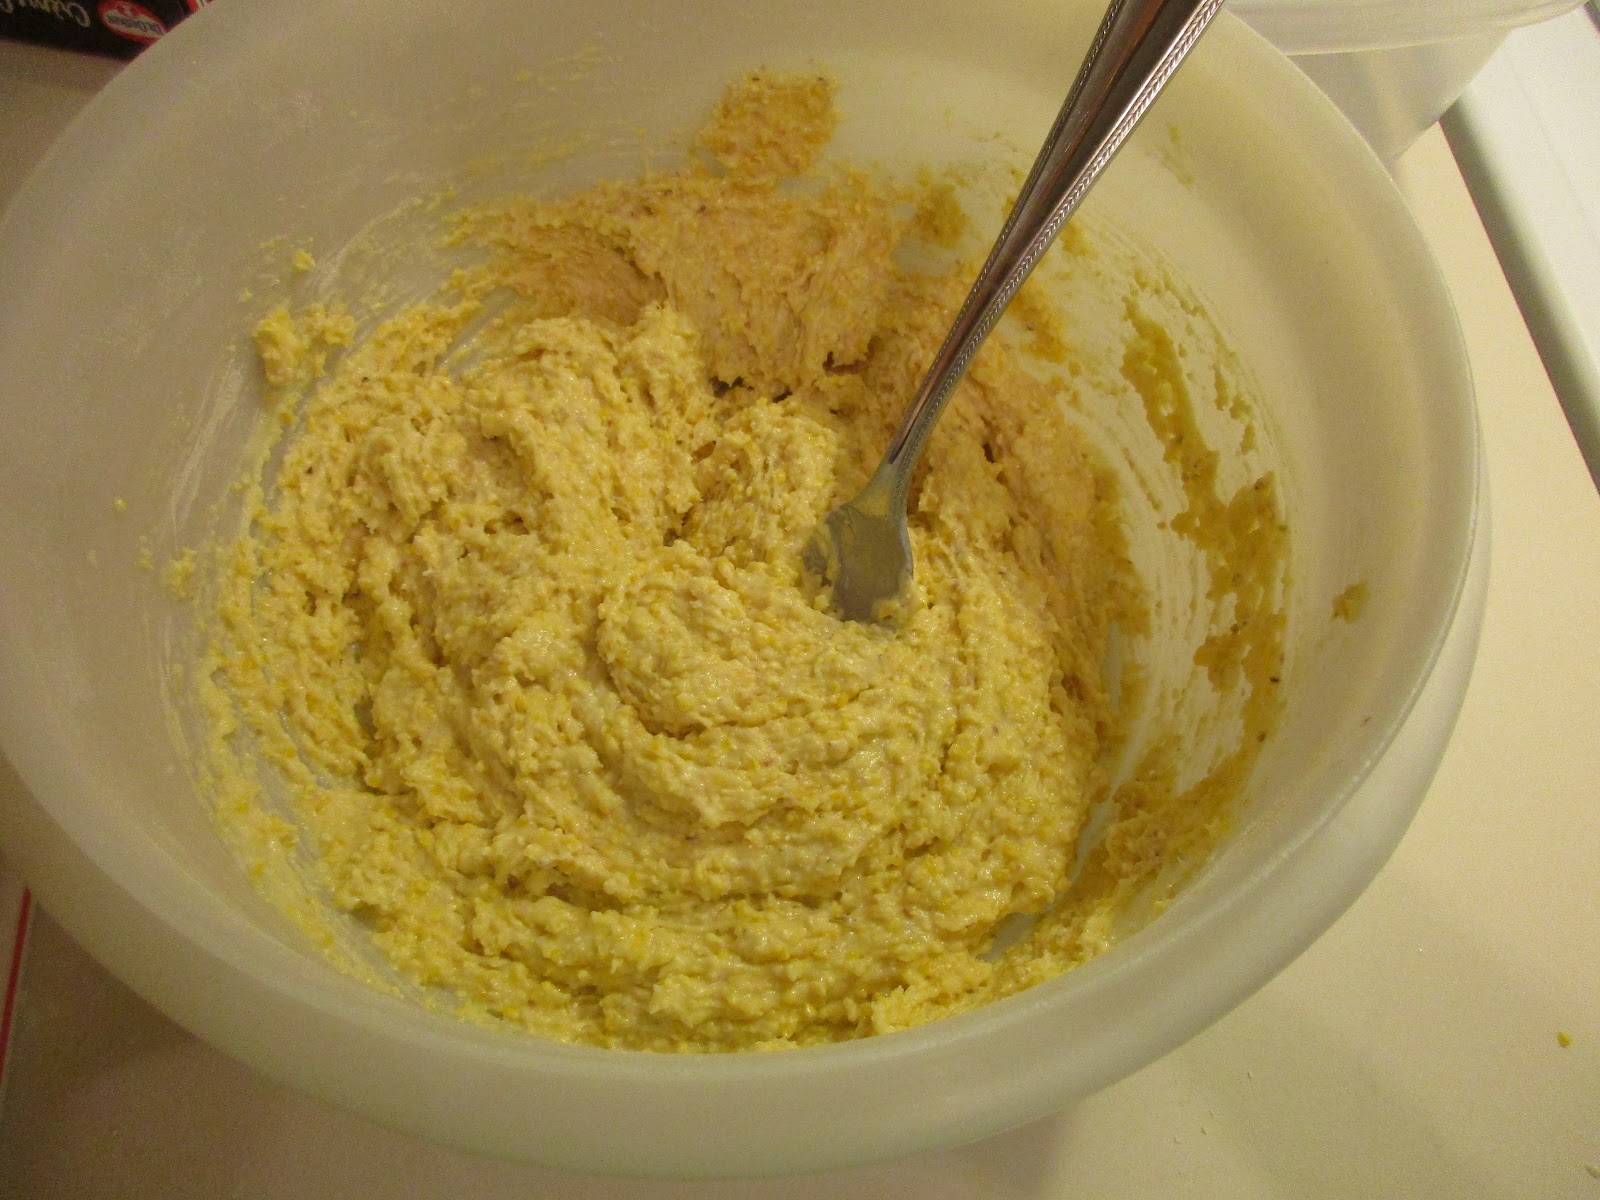
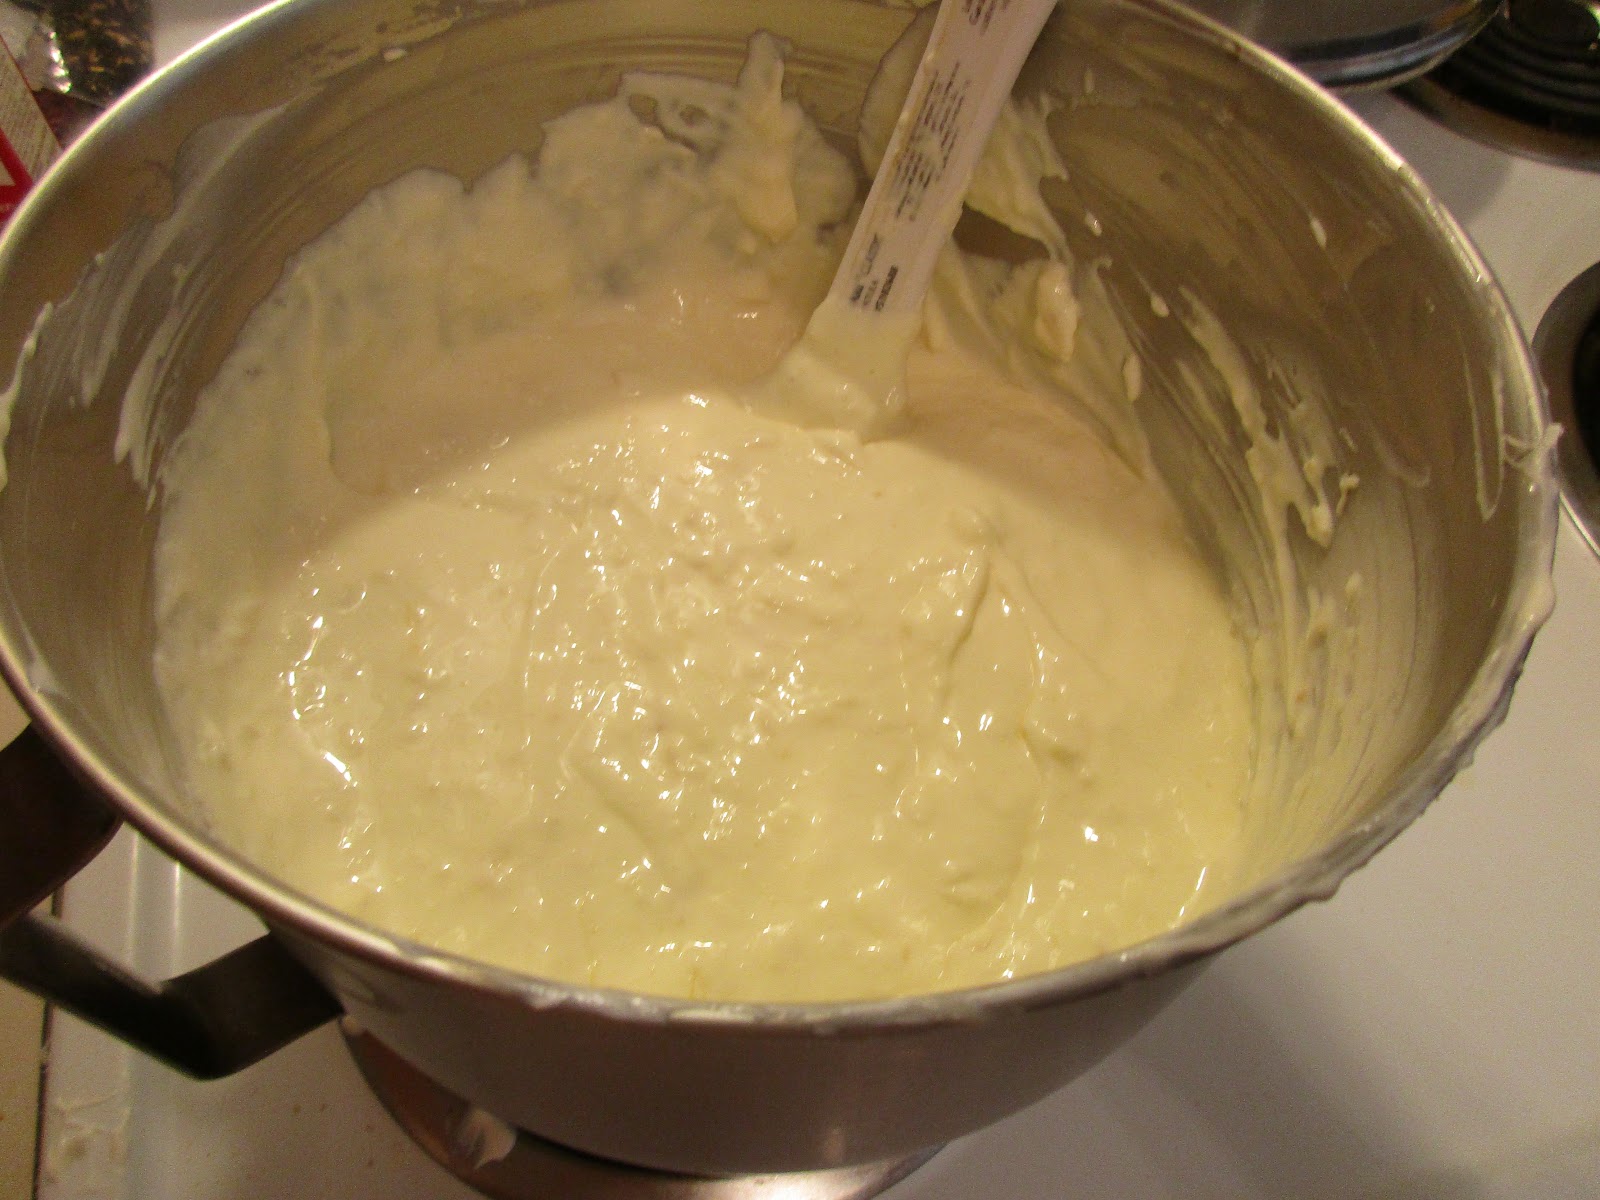
Mix the cream cheese, vanilla, and sugar well, until fluffy.
Add the beaten eggs, and blend well.
Add the sour cream and mix until completely blended.
Fold in the well-drained pineapple, and set aside to pour into the crust.
To make the crust:
If you have whole graham crackers, use a gallon-size bag and a rolling pin or a food processor to grind them. I used a food processor for mine. When well-ground, place them in a bowl large enough to fit all the crust ingredients. Place the coconut flakes and toasted almonds in a food processor and process until they're the same size as the crushed graham crackers. Place them and the sugar in the bowl with the cracker crumbs and blend well.

Melt the butter and add the almond extract to it. Pour into the bowl and stir well to fully incorporate it with the crust ingredients.
Dump the crust ingredients into a springform pan and press into the bottom and up the sides. This makes enough to cover the sides nearly to the top. Try to make sure it's uniform, especially on the bottom.
Preheat the oven to 375 degrees. Bake the crust for two minutes to help it set. When that's done, remove it from the oven and pour the batter into the crust. It will nearly cover the sides of the crust.
Bake for 1 hour in the oven, before checking to see how set it is. You will definitely want a sheet pan under this on a lower rack, because butter will melt out of the bottom of the pan and you will regret the mess to clean up, if you don't.

After 1 hour, it may need a little more time to bake. Cheesecake baking is difficult in that it's really hard to tell if it's done, unless you have done this a lot. As I haven't baked a cheesecake in probably 15+ years, I was definitely rusty, and erred on the side of baking longer than it probably needed.
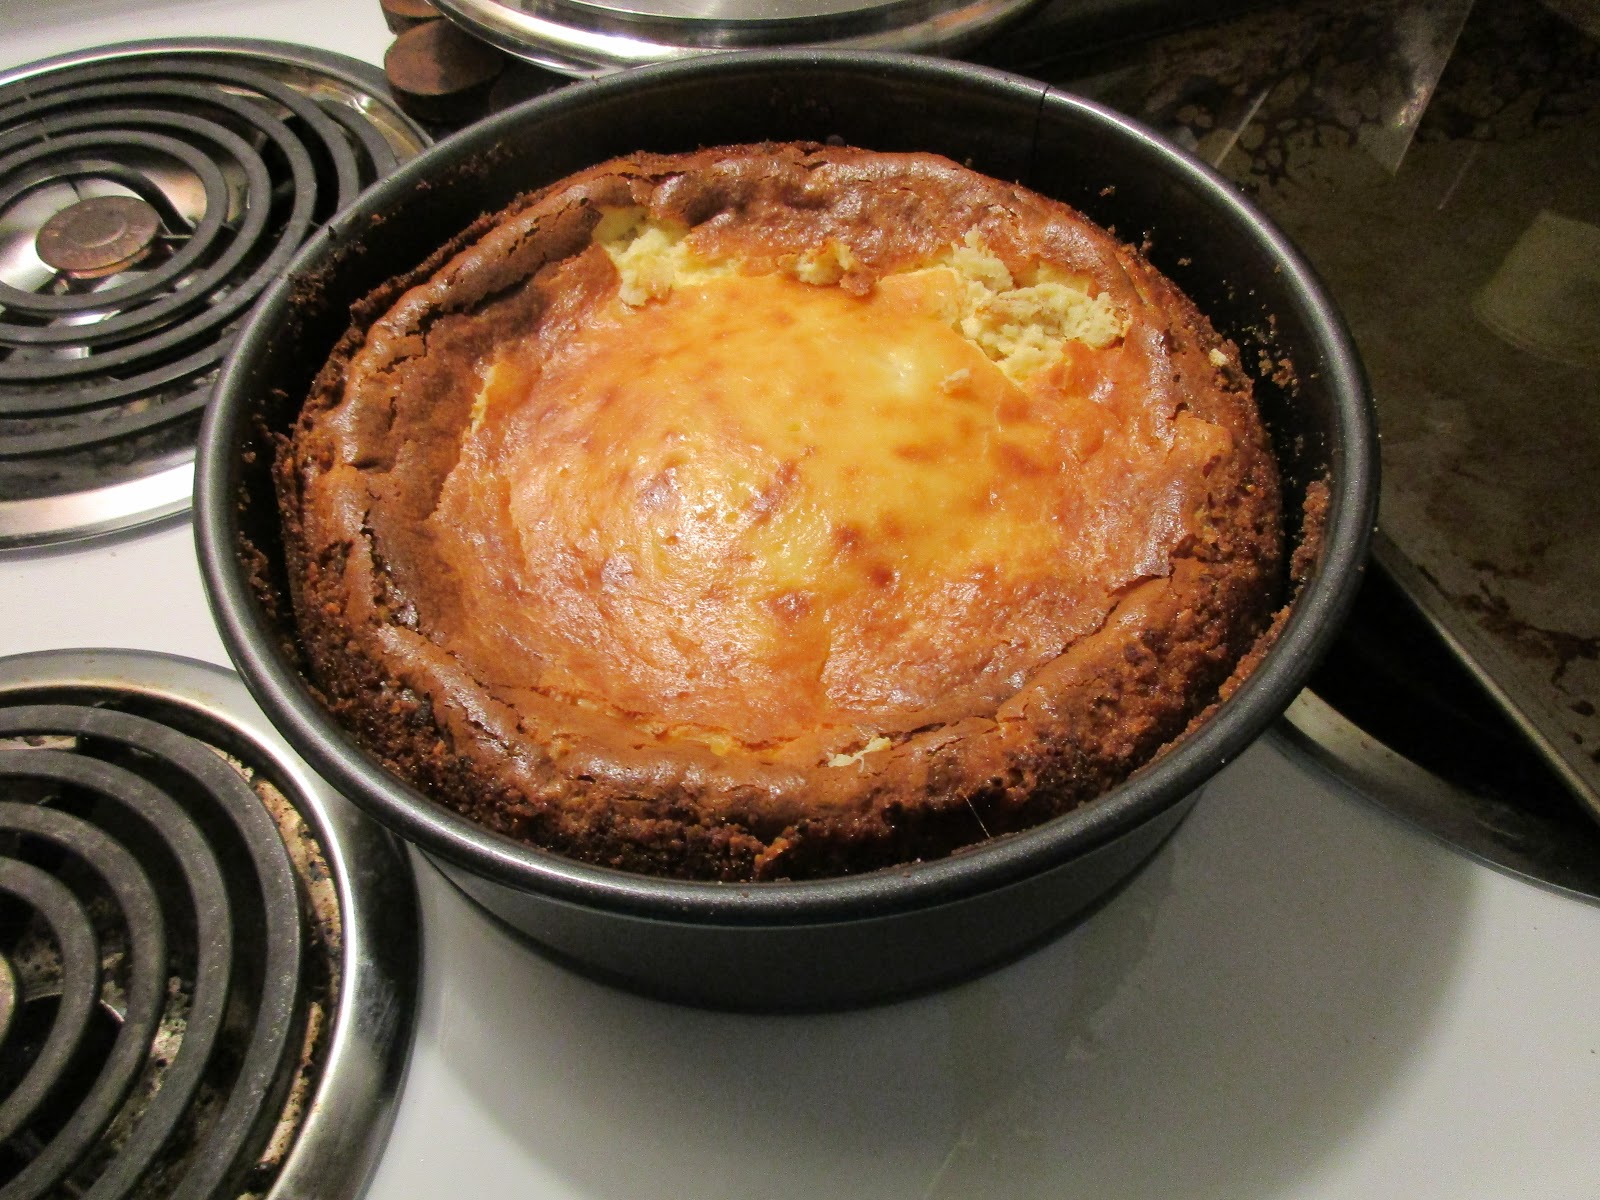
This was after an hour and 15 minutes, and just out of the oven.
This is after it fell. Cheesecakes fall, it's just what they do, don't worry when it happens to yours! It's browner on top than I would like, and cracked around the edge, but I would rather have a browner top than a raw center. Figuring out just the right time to bake comes with practice, and I need more of it, I think! I will admit, it's not the prettiest cheesecake I've ever made or seen, but it's the taste and texture that matters most. I was happy with the results, ultimately. When this is done, let it sit for a while to cool down a bit before placing it in the fridge to cool overnight.
The next day I took it out of the fridge and removed the side of the springform pan. It was time for a taste test.

I found it actually tasted better when it wasn't super cold, so I recommend letting it sit for a while and come closer to room temperature. The texture isn't perfect, and I can't tell if it's because of the pineapple, or over-baking, or a combo of both, but the flavor is pretty good. But it wasn't pineappley enough for my tastes. So, I thought and thought about it and the answer came to me: the leftover pineapple juice that I had saved from the crushed pineapple. I poured it into a pan and and slowly reduced it over medium heat until it was thick and syrupy. Can I just tell you how amazing it tastes poured over the cheesecake?! I poured the rest of it over the rest of the cheesecake and then for a bit of texture, I sprinkled the extra graham cracker crumbs on the top.
I left a little bit without graham crackers on top so that when I take it to work tomorrow, my coworkers can try it with or without if they like.

So, what did I learn from this baking experiment? I learned that I miss making cheesecake and I should probably do it more often to perfect the timing. I learned that even when a recipe doesn't have all the steps written out, if you have enough of a cooking/baking foundation, you can pretty much figure it out, even without them. I learned that pineapple in the cheesecake might make the texture taste a bit funny, but it still tastes great. And honestly, it's the pineapple syrup that takes it over the top. Do not miss this step. Don't be afraid to experiment. It didn't call for that at all, but it just "made" the dish!

This cheesecake is really rich, and the original recipe says it makes 12 servings. I didn't cut mine into 12 pieces, but feel like those are probably big slices and can probably be cut smaller to make more servings. There's a lot of sugar in this, so smaller pieces are probably the way to go!

Cheesecakes feel really fancy, but they aren't that hard to make. They are hard to gauge the doneness, however. That just takes time and practice. What better time to start practicing, than right now!

I don't know if this recipe is kosher or if my friend's grandmother would have enjoyed it. Some people really hate coconut! But I did take some time while making the cheesecake to think about the elders in our lives, and how it's good to listen to them and learn from them while we have them in our lives. This project is helping me to remember that. I would encourage all of us to listen to our elders, learn from them, learn their stories, while they're still here with us. Make sure to hug your grandparents while you still can!

Happy Baking!
-Foodie

*I actually measured the sour cream into cups, rather than used a pint and an 8oz. container of sour cream. This ended up using a few tablespoons more than those, so make sure you have plenty of sour cream on hand!
**The original recipe does't say what size of a can to use and I had every intention of buying an 8oz. can, but the store brand was all out of that size and there was no way I was paying the price of the name brand, so I ended up with a 19oz. can of the store brand, which was probably still cheaper than the smaller size of the name brand. I didn't use all of it, but as you'll see later, I did use all the juice from it, so I recommend the larger size can.


Sunday, June 2, 2019

What's in Grandma's Recipe Tin?-Wiener Schnitzel


My original plan was to make this meal last weekend, Memorial Day weekend, when I was going to Leavenworth on Saturday, but I had misplaced the recipe and couldn't find it, and was just too lazy to deal with it all, so I scrapped it till this weekend. I chose this wiener schnitzel recipe because Leavenworth is a Bavarian-style town, and I like German food, so it was a perfect connection. While there, I picked up a package of spaetzle to try, because I've never had it before and it's the quintessential German side dish. Neither disappointed.

The recipe is from a newspaper clipping from an unknown year, from one of the Seattle newspapers, because I can see Seattle-related things advertised on the other side of the clipping, but no date or year listed anywhere. It does say the recipe is a reprint from the San Francisco Chronicle originally. I'll type it out because it's larger than the last recipe and won't show up very well in a photograph.

Wiener Schnitzel
Serves: 4
Prep Time: 15 minutes
Cook Time: 15 minutes

4 pork cutlets, each about 1/2" thick or slightly less (about 1 1/2 lbs.)
1/2 cup milk
2 eggs, slightly beaten

1 1/2 cups panko or homemade breadcrumbs (see note)
2 Tbsp. butter, plus more as needed
1 1/2 tsp. sea salt or kosher salt
1 tsp. freshly ground black pepper
2 lemons, halved

Preheat oven to 225 degrees and place a serving platter in the oven.

Pound the cutlets until they measure roughly 7" by 10" and are very thin, about 1/8" thick. It takes about 4 minutes per cutlet to accomplish this. The cutlets can be pounded the day before and wrapped in plastic wrap until ready to cook, if desired.

Pour the milk in a shallow bowl, and put the beaten egg in another. Sprinkle the panko or breadcrumbs on a sheet of aluminum foil.

In a large frying pan, melt the butter over medium-high heat. While it is melting, dip one cutlet into the milk, then the egg, and then lay it in the panko or breadcrumbs, then turn and coat the other side. Sprinkle with a little salt and pepper. When the butter foams, put the breaded cutlet into the hot butter. If the pan is large enough, repeat with a second cutlet.

When the crust is golden brown, about two minutes, turn and repeat on the other side, 1-2 minutes. Remove and place on the warm platter in the oven. Repeat, adding more butter as needed, until all are done.

Serve hot, along with half a lemon.

Note: To make homemade breadcrumbs: Simply put dried baguette or other artisan bread in a blender or food processor and chop or process to medium light crumbs.

I started off with two thin-sliced pork chops. Basically one pork chop, cut down the middle. The recipe doesn't say exactly what kind of cut of meat to use, which would have been helpful, so I just went with these, because they were already thinner, and affordable.
And as you can tell, I don't always follow directions as they are written. This is usually because I don't actually really read them until just before cooking, and then I generally wing-it as I go, as long as I got the ingredients right, which I also sometimes don't follow either, cuz what's the fun of following the rules? I mixed the egg and the milk together, like you would for dipping bread for French toast, and you know what? It turned out just fine. Don't bother dirtying up a third plate for the breading process, it's totally ok to mix the egg and milk.
Here is the finished result! I used panko, and half of it falls off, so don't freak out if that happens to you too. Enough will stay on to be delicious and coat it all. And as you can tell, it's not nearly as thin as the recipe says it should be. This is because I spent forever pounding them with a meat mallet and that's as thin as they got. I got worried my apartment neighbors would start to get upset if I kept at it, so I just stopped. Again, if it had said what cut of meat to use, it would have helped because some work better than others for this, and clearly the pork chops I had weren't the right cut. It's ok if yours don't get as thin as they should either, just know that you'll need to cook them longer, but it'll all work out fine in the end. Don't panic.
Here they go in the melted butter. The butter immediately sucked up into the breadcrumbs and I had to keep adding more and more that I finally switched to oil because I was tired of using so much butter. It still needed way more than it called for, so be prepared emotionally to be consuming so much butter and oil in one dish, but sometimes you gotta do what you gotta do, you know? Just work out a few extra minutes the next day and you'll be all good.
Here's the first flip. It does take a few times on each side to get it really browned. Be careful with the tongs because the breading is delicate and will scrape off if you press too hard with them. And make sure to take extra care to fry the edges too, because they won't brown on their own if you don't. If they were thinner, they'd cook faster and probably cook the sides better too. But, just adapt to what you ended up with and it'll be fine!
Here's the spaetzle I bought in a German cheese shop in Leavenworth. It was expensive, but worth it. It's an imported item and you're supporting a small, independent store, so I had no problem shelling out some extra money on it. I just followed the directions on the package exactly, which are thankfully in English, and it turned out great. I know sometimes people fry these in butter after they're cooked, and I'd definitely eat it that way. It would just make it that much more awesome. It's a good alternative from other, more common forms of side dishes, and a must for German entrees!
Here's the final result! Nicely browned, crispy breading which you must put lemon juice on, it just takes the flavor up to a whole other level of deliciousness! This didn't go exactly as the recipe said it would, but it still turned out great. That's the important lesson to be learned with cooking. Don't be intimidated by the instructions. If one way doesn't work for you, find another way!

If you like German food, or want to explore German cuisine more, this is a great starter recipe. It's pretty basic, and quick and easy. I think you'll all enjoy this one! Happy Cooking!


Sunday, May 19, 2019

What's in Grandma's Recipe Tin? -Oatmeal Cookies

Welcome to my newest food blog project! I have been trying to think of a good project idea for a while, but nothing really jumped out of me as a fun idea. My grandmother is currently preparing to move out of her apartment and bequeathed to me three large containers full of newspaper clippings and recipe cards that she had collected over the years, with the words "You'll probably throw them away, but if you wanted to look through them..." So I took them with me and spent an entire day looking through all of them. I narrowed it down to one tin-worth of recipe cards and newspaper clippings to try out, and was thinking of the best time to try them and it hit me: blog project! "What's in Grandma's Recipe Tin?" is the perfect title for this project.

The inaugural recipe for this project is Oatmeal Cookies.
Oatmeal cookies are delicious, but they're not that exciting. They're pretty basic. So why did I choose it this time? Because look at the recipe-there's no flour in the ingredient list. I thought at first that maybe it was a missed ingredient, but then I noticed there are no eggs in there either, another standard for most oatmeal cookie recipes. That made me start thinking it was written this way on purpose after all, and therefore, was much more interesting as a recipe. I mean, no flour, no eggs, how was this cookie supposed to hold its shape? How would the butter and sugar not just melt out of it, leaving a mess of caramel and oats on the sheet pan? I had to see how it would work out. And if it worked out, it's a viable gluten-free cookie recipe and for people who need that, what an exciting thought!

 
I made these Friday night and they weren't very hard to make. First step was mixing the oats with the brown sugar. I used old-fashioned oats, not the quick-cooking kind. 
  
After those were blended together, I added the butter, cut into cubes, and mixed it really well until it was blended.


(Sorry the font is different for this, the picture wouldn't let me add a space and freaked out and only let me add a caption instead...)
 
At this stage, it was almost like a shortbread dough in texture. It doesn't say to, but I refrigerated it at this point for a while to help it stay firm. A while later, I used a small cookie dough scoop to make uniform-size cookies. Some cookies need to be shaped delicately, but since these are so precarious, they actually do better by being rolled tightly into a ball. Don't be afraid to squeeze them into a ball, they'll retain a better shape when they bake.
The wet fork is really an important step because the dough would just crumble if you pressed it with a dry fork. The ones that were pressed down less held their shapes better. I recommend just a gentle pressing down, maybe to about 1/4" thick or so.
The ones with the browner edges were more delicate and crumbly, but the thicker ones held their shape better. Those ones were chewier. Both were delicious, but the crumbly ones are SUPER crumbly. Like, make sure to eat them over a plate or the sink or something cuz you'll end up with crumbs everywhere if you don't!
This recipe made about 5 dozen cookies with the size of the scoop I used. The texture held up the next day when I took them to my family gathering where my father proceeded to gobble them up and then commandeered the rest of the bag. Luckily I have another bag set aside to take to work tomorrow to share with my coworkers.

This was a simple cookie, a delicious gluten-free option for somebody who can't eat gluten and really misses traditional cookies. This was a great inaugural recipe for this project. I get to share them with my friends and family. And hopefully over the course of this project, I'll get to share a lot more delicious food with my friends and family, especially my grandmother, who will be reading along with the blog posts. Grandma, when you read this, know the recipe turned out great! Thank you for passing the recipes on to me!