Sunday, November 7, 2021

The Twelve Cookies of Christmas: Orange Spice Molasses Cookies


The Twelve Cookies of Christmas: Orange Spice Molasses Cookies

These cookies are amazing! They might be my new favorite molasses cookies. There are a couple steps to prep the ingredients, but if you have a coffee grinder you use for spices or grinding non-coffee items, this will help with both of the steps. Once that is over, the recipe is super easy. Since there is a source, I'm going to post the link to it, rather than write it out.

Orange Spice Molasses Cookies

Here we have the prepped specialty items for this recipe. Above on the left is the sugar with the orange zest ground into it. It's such a neat color! And on the right is the ground oats. On the plate is the rest of the zest for the dough. I didn't realize going into it that I needed several Tablespoons of zest and only had one orange to zest. I split it between the two parts, but I would definitely do the zest of two oranges in the future.
Creaming the butter and sugars without a mixer really is easy and good exercise. I am once again reminded that I wouldn't have been able to do this prior to my QVar inhaler getting me past my covid problems.
Here it is mixed with the zest.
And with all the wet ingredients mixed in.
Here is post oatmeal. For some reason I don't have any shots of it after adding the flour.
But here is the first iteration of the cookies. I made 40 portions and then worked on evening them out. I was not sure about not chilling them first, but I followed the recipe and it did just fine!
Rolling them in the orange sugar. The orange sugar makes more than you'll need, so you can either keep it for a second batch or possibly even cut the sugar and zest in half and not waste the ingredients.
Post sugaring.
A full tray ready for the oven! You can see that the sugar is a bit powdery, because it's been ground up with the zest. I like it this way so you don't get whole grains of sugar when you bite into them.

Here is the final product. It gets the nice cracks that a molasses cookie should have. Mine ended up needing 14 minutes, not 10. Sacrifice one to be the tester. Cut it in half and keep an eye on it after the 10 minute mark to see how they're baking on the inside. 

The texture is amazing! I will be freezing them to take to Thanksgiving Part Two with my family, and sharing some with my parents and coworkers this week!

This recipe was well worth the extra prep steps. Orange put it right into wintertime, and my sister pointed out that it tastes like a mini gingerbread cookie. They have all the typical gingerbread spices, so that makes sense.

These just feel festive and extra special, perfect for this time of year! Santa will enjoy these, for sure!

Happy Baking!

Sunday, October 31, 2021

The Twelve Cookies of Christmas-Aunt Martha's Nutmeg Bells


The Twelve Cookies of Christmas-Aunt Martha's Nutmeg Bells

Full disclosure: I don't have an Aunt Martha, but somebody out there has an aunt who makes tasty cookies! This is the one I had planned to make last week but the recipe card disappeared on me. I found it this week and even had time to order a bell-shaped cookie cutter to use for the recipe.

I went through so much to make this one happen, it felt right to do them today. I decided to cut the recipe in half because a full batch makes 5 1/2 dozen and I just don't need that much. And again, there was a bit of a disaster I'll get into later, but it all seems to have turned out ok in the end! Well, let's get on with the recipe...

Aunt Martha's Nutmeg Bells(full recipe)

2 cups sugar

1 cup butter, softened

2 eggs

2 tsp. vanilla

3 1/2 cups flour

4 tsp. baking powder

1 tsp. salt

1 tsp. nutmeg

1.) In large bowl, with mixer at medium speed, beat sugar and butter until creamy, about 2 minutes. Reduce heat to low; beat in eggs and vanilla until blended. Gradually beat in flour, baking powder, salt, and nutmeg until well blended, occasionally scraping bowl with a rubber spatula.

2.) Divide dough in thirds; flatten each into a disk. Wrap each disk in plastic wrap and refrigerate 2 hours or until dough is firm enough to roll. (Or freeze for 30 minutes.)

3.) Preheat oven to 350 degrees. On lightly floured surface, with floured rolling pin, roll 1 piece of dough 1/8" thick. With floured 3 1/2" bell-shaped cookie cutter, cut dough into as many cookies as possible; wrap and refrigerate trimmings. Place cookies, 1" apart, on ungreased large cookie sheet.

4.) Bake cookies  10-12 minutes or until lightly browned. Transfer cookies to wire rack to cool. Repeat with remaining dough and trimmings.

5.) When cookies are cool, decorate as desired. Store cookies in tightly covered container(with waxed paper between layers if decorated) at room temperature for up to two weeks, or in freezer for up to 3 months.

Makes about 5 1/2 dozen cookies

My obligatory all-ingredient shot before I got started. It's a pretty simple ingredient list.
I did all of this by hand, mostly because I don't feel like lugging my heavy mixer down the hallway from it's storage spot. It doesn't live in the kitchen because there isn't enough counter space for it. So, I have just been doing everything by hand...!
Here it is after adding the egg and vanilla.
I got distracted while mixing the dry ingredients in to get a picture of that. When you're cutting a recipe in half, make sure to look at the measuring spoons very carefully. I accidentally put the full amount of salt in the recipe because I thought I had a 1/2 tsp, but it was a full teaspoon...Luckily it turned out to taste fine, but I would still recommend putting the proper amount in. This is the just-gathered dough, ready to be put in the fridge.
Here's after refrigerating and kneading it all together.
The dough rolls out really well. I rolled it out to what I thought was 1/8" thick and it made way more than 2 3/4 dozen cookies. But that just means you can eat more and feel better about it.
Here are the unbaked cut-outs. It's a decent size cookie.
And right out of the oven. With the thinner cookies, I found 8 minutes was perfect, not 10-12. If yours are thicker, you may need longer.

Towards the end, the cookies got even thinner, so they are a little browner. These are really nice and crunchy, and delicious. I did not decorate them because I'm freezing most of them for later, but my sister thinks they just need a glaze, rather than icing. I'll probably add more nutmeg to the glaze to enhance that flavor.

These were really simple but delicious. On first bite, you're like, yeah, they're fine, but nothing special, but then after a few minutes, you realize you've inhaled five more without realizing it, so there's something about them!! These had a little more work to them with the rolling and cutting, but it wasn't as bad as I anticipated. I will definitely add this to my keeper recipes!

Happy Baking!


Sunday, October 24, 2021

The Twelve Cookies of Christmas-New England Hard Gingerbread


The Twelve Cookies of Christmas-New England Hard Gingerbread

I wasn't planning on testing this recipe for this project, but the one I was going to do slipped under the stove and I couldn't get to it, so this became my new recipe instead! Luckily, I had all the ingredients on hand. I was given advice on how to retrieve it from under the stove, so I'll see if I can get the recipe later on and add it back to the project rotation.

This recipe just sounded perfect for a Christmas cookie project. New England plus gingerbread? I'm surprised I didn't pick it out originally. It's an older recipe card, so I don't have a source. I feel more comfortable writing it out. In its own way, it's just as simple as shortbread, but the result is very different.

New England Hard Gingerbread

1/2 cup molasses

1/4 cup butter, melted

1 egg

1 3/4 cups whole wheat flour

1 tsp. dried ginger

1/2 tsp. baking soda

In a medium bowl, mix molasses, butter, and egg until blended.

Stir in remaining ingredients until well blended.


On a greased cookie sheet, roll out or pat dough with lightly floured hands to 10"x12" rectangle.

Bake in preheated 350 degree oven 20 minutes, until lightly browned around edges.

While still warm, cut in 2" squares or cool on sheet on rack and break in chunks. Store in airtight container up to 2 weeks.

Makes 30 two" squares.

I should have rolled it out thinner, but the texture was really nice on this. I think the idea is supposed to be like hardtack, and this is definitely not that. Admittedly, I did not use floured hands, and that might have helped me pat it out even thinner. Something to try next time, for sure.

I decided to go with the rustic breaking into pieces rather than cutting. I think it's fun this way!

The flavor of these cookies is amazing! The texture is a little dry. I think that's because it's supposed to be thinner and harder. As they are, I think they'd be even better with some icing or frosting on them. This would also work well as a gingerbread recipe for making houses. It's very sturdy. 

There's just something about ginger at Christmastime, isn't there? It has to be there! I keep saying that one of these years I'm going to build a gingerbread Nakatomi Plaza, and maybe this is the recipe I'll use!!

This is the kind of cookie that you want to eat while sipping pumpkin spice tea and watch a Christmas movie while wrapped in a blanket. Definitely roll them out thinner, but I'd make these again, for sure.

Happy Baking!


Sunday, October 17, 2021

The Twelve Cookies of Christmas-A Trio of Shortbreads


The Twelve Cookies of Christmas-A Trio of Shortbreads

Last year I did a cooking project called The Twelve Weeks of Christmas, where I explored Christmas cooking and baking traditions from around the world. I had a lot of fun with it and decided to do another edition of it this year, but focusing on Christmas cookies. Unfortunately, I miscalculated the time and should have started this two weeks ago. Because I was able to scramble and do three cookie recipes this weekend, I'm caught up to where I should be, but naming it "weeks" in the project title no longer makes sense since I'll only be doing ten posts. I decided to rename it "cookies" instead, since that is still going to be accurate.

So, this weekend, I ended up making a trio of shortbread cookies: Almond shortbread, Orange Cornmeal Shortbread, and Brown Butter Pecan Shortbread. All of them have online sources, so I won't be typing out the recipes, for copyright reasons. I'll share the links though.

First up was this recipe. I make shortbread cookies almost every year and they take a lot of time and effort. I was shocked to see that there are recipes that are so much easier even if they have more ingredients! The almond shortbread was one of them.

I've never tried to use a pastry cutter before to make shortbread, but I didn't feel like lugging out my mixer and tried that instead. It worked really well! I highly recommend it!
I've never made shortbread this way before. Freeze a pie pan and press the dough into it. Then freeze it again for a bit so it solidifies. This is a small batch, but it's worth it!
Press the almonds on top before baking. The pie pan went right from the freezer into the hot oven and had no problems. I was nervous that it might shatter, but pyrex is great stuff!

Here is the final product. Brown sugar adds a different flavor to the shortbread, and the almonds add a great texture. These get cut into triangles. I think they look quite elegant.

The second recipe was this one. I've never had orange or cornmeal in shortbread before, so it was fun to try this one. I made the first two on Saturday, before going to a small family gathering Saturday evening.

I can't believe it took me till now to try out the pastry cutter. I don't think I'll ever use a mixer again! This one is started off more like the one I make each year, with butter and powdered sugar.
I also learned that you can add the orange zest without chopping it into smaller pieces, and the pastry cutter will cut it as it helps blend it too.
Once the dough comes together, you roll them into logs and wrap them in plastic. I took these to my family gathering and actually baked them there.
When you're ready to bake them, you roll the logs in the rest of the cornmeal. This will give it a great and very unique texture.
It made at least twice as much as the recipe says it will. Luckily, the sheetpan was big enough to fit all of them on in one batch.

This is what they look like after baking. My family all seemed to enjoy this one and the almond shortbread too. It turned out great, because I rarely am able to involve my family in these recipes and they were able to try them right out of the oven.

My third recipe, was Brown Butter Pecan Shortbread. 

This had the most prep work involved, so I did it today when I had more time. First you toast and grind the pecans, then you brown and strain the butter. Above is the finished product for both of those.
This one used white sugar. All three recipes used a different type of sugar. It just shows you how versatile shortbread really is. I was also struck by how easy it was to make all three of these recipes. No matter how fancy they are, the main concept remains the same.
Here is the two kinds of butter mixed with the sugar.
And with all the ingredients mixed in. It's very crumbly, but it comes together very well and easily.
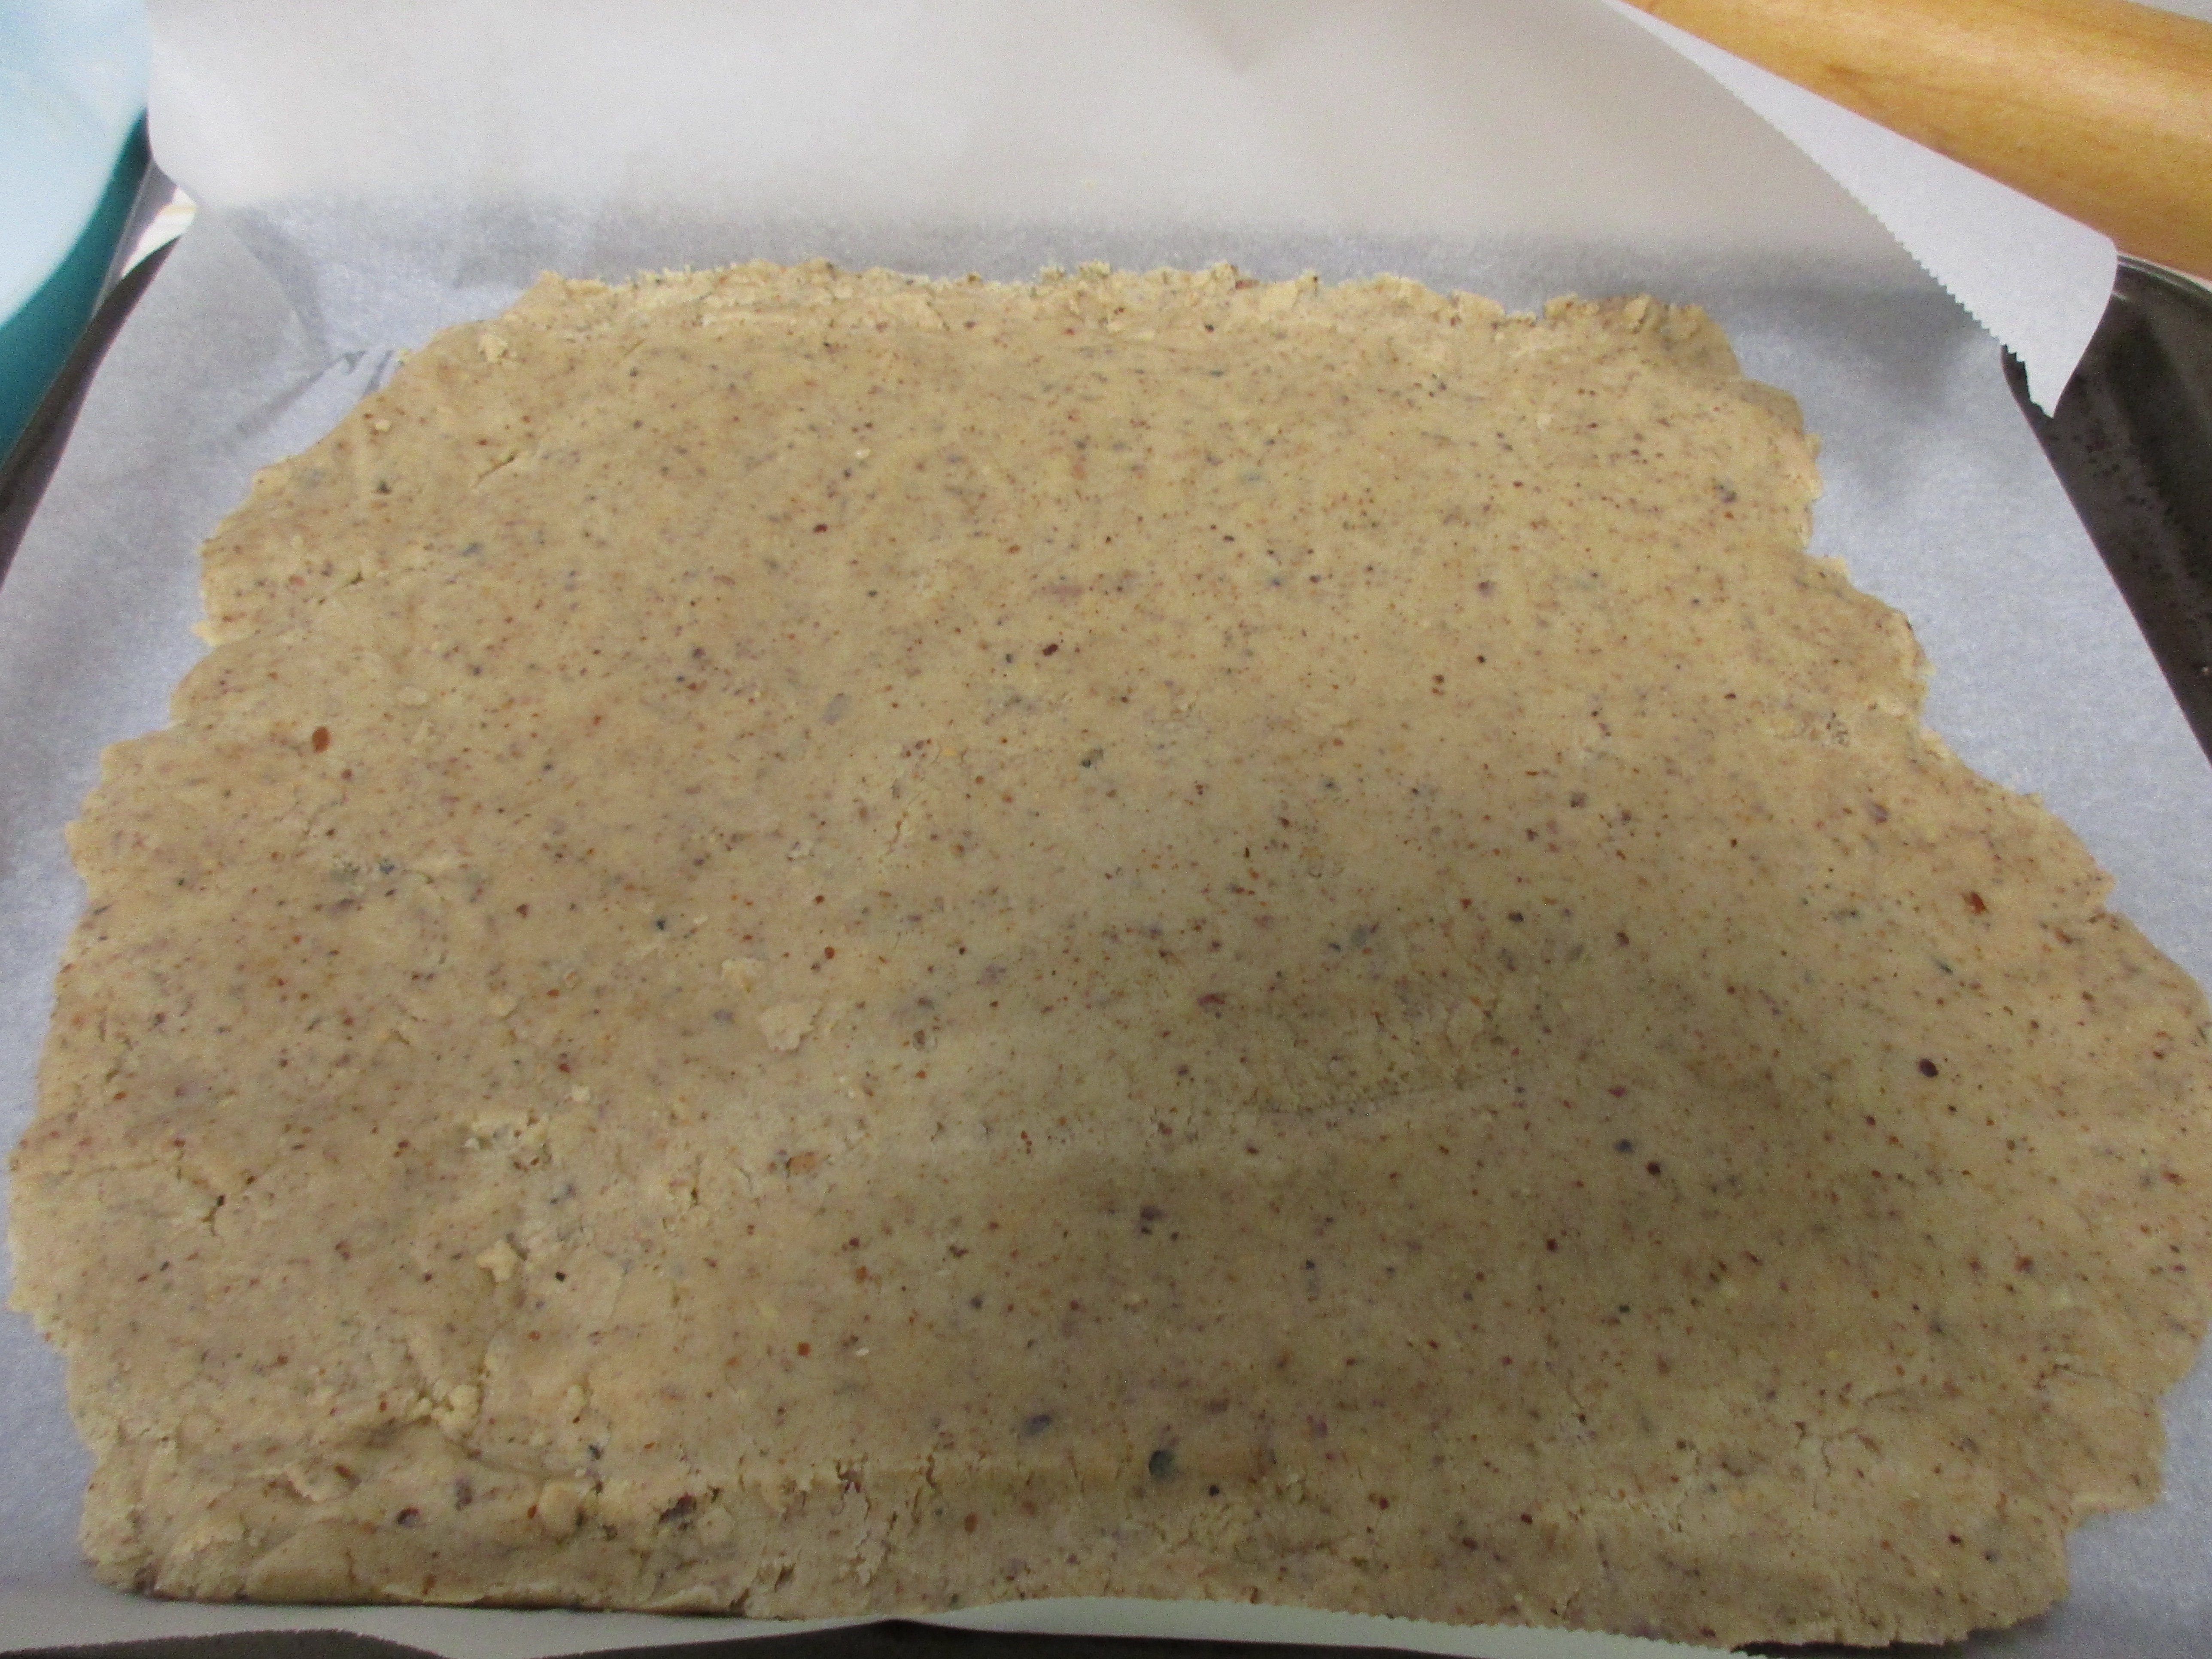
This recipe calls for being patted out to a large rectangle and I tried out something new that again I think I'll work into my annual shortbread making that makes it so much easier. Roll and pat it out right in the sheetpan, on parchment paper. I can't believe I've never tried this before, it's ridiculously easier...
Then you prick it with a fork all over the surface to keep it from puffing up.

And after you take it out of the oven, you cut them into bars. This one is a really light-tasting shortbread. There isn't a lot of sugar, so it's not very sweet. The texture is great, though. I was nervous that the recipe doesn't chill at all. What kind of shortbread doesn't have a chilling step? This one, apparently. But I think they turned out just fine!

I plan on freezing some of these to share with my coworkers this week, and then maybe keeping the rest for Christmas. The idea with this project was that I would do a blend of freezable and non-freezable recipes, and do the freezable ones earlier on. All three of these turned out really great and I'm very excited to share them with others!

I am very tired after a whirlwind, unplanned triple shortbread baking adventure this weekend! Starting next weekend, it'll be one recipe a week. Hallmark also starts up their Christmas movie extravaganza and I am looking forward to watching new movies and eating Christmas cookies at the same time!!

Happy Baking!


Tuesday, May 11, 2021

Spring's Bounty: Rhubarb Cobbler


Spring's Bounty: Rhubarb Cobbler

Well, it's been a couple weeks since I had a recipe good enough to write up. This was a really easy and delicious recipe, so I'll be sharing it!

Rhubarb Cobbler(source unknown)

4 cups thinly sliced rhubarb

1 cup sugar, divided

1 Tbsp. cornstarch

1 cup unbleached white or whole wheat flour

1 1/2 tsp. baking powder

1/4 tsp. salt

1/4 cup cold butter, cut into cubes

1 egg

1 tsp. vanilla

1/4 cup milk

Preheat oven to 350 degrees. Toss the rhubarb with 1/2 cup of sugar and the cornstarch. Arrange the rhubarb in an 8"x8" casserole dish.

Combine the remaining half cup of sugar, flour, baking powder, and salt in a mixing bowl. Cut in the butter with a pastry blender until it is the consistency of coarse cornmeal. 

Beat the egg and vanilla into the milk and add to the flour mixture, stirring just until moistened. Drop the batter onto the fruit. Bake for about 25 minutes or until the fruit is bubbly and the topping is golden.

Serve with ice cream or whipped cream.

Makes 6 servings.

My traditional gathered ingredients picture before I get started.
You don't have to grease the dish, which is really nice. I mixed the sugar and cornstarch with the rhubarb in a dish and then poured it in here, but you could probably mix it in the dish just as easily, if you wanted to save a dish.
Dried ingredients after the butter has been cut into it.
Here are the wet ingredients mixed and ready to go.
And here is the finished dough! It's sticky, it's basically sweet dumplings, so that makes sense.
I dotted the dish with the dough, but you could probably just spread it out evenly, if you wanted.
As  you can see, it does spread out as is bakes. This ended up taking about 45 minutes, just keep testing the in dough, it'll be done on top, but not on the bottom. It'll always be a bit gummy on the bottom, but the center should be cooked through, and you'll see it'll keep getting browner on top and it's really lovely!
You can see how the sugar, cornstarch, and rhubarb turns into a syrup. You'll want to use a spoon to serve and eat this.

This was really good! I ate mine warm with the cool whip melting into it and the vanilla really comes out and the tart/sweet of the rhubarb is just delicious. It's so easy to make this, but it looks and feels really fancy! I'm looking forward to trying it at room temp too tomorrow. I will be taking some to work to share with my coworkers, but I just might eat the rest of it myself!!

If you are a rhubarb newbie, like I am, this is a great starting point. It's not a complex recipe and the rhubarb is the star of the show. I'm so excited to have a winner recipe again!