I come from a culinary arts background, but have since left that industry. I am now working on my writing, and enjoying cooking for family and friends.
This week's recipe was a simple, yet very tasty, cornbread muffin. Wednesday, June 19th was Juneteenth, and I wanted to celebrate the holiday. Traditional foods for this holiday are picnic-style foods, as well as something red to drink. In addition to the muffins, I also whipped up a batch of my potato salad recipe. I was going to make a boxed variety of cornbread muffin but I was lucky enough to find the perfect recipe to try in my grandmother's recipe tin, so I made that instead. Everything turned out great!
This recipe is a clip-out recipe card from the Family Circle magazine, from June of 1966. It's a quick recipe, I whipped it up after work in the evening and I don't think it took much longer to make than a boxed variety would have taken to make.
Here's all the ingredients, minus the shortening that was melting on the stove. I always like these line-up shots!
First things first, all the dry ingredients are mixed in a bowl. I sifted the flour before measuring it, and then sifted it again with all the other dry ingredients before adding the cornmeal and whisking well.
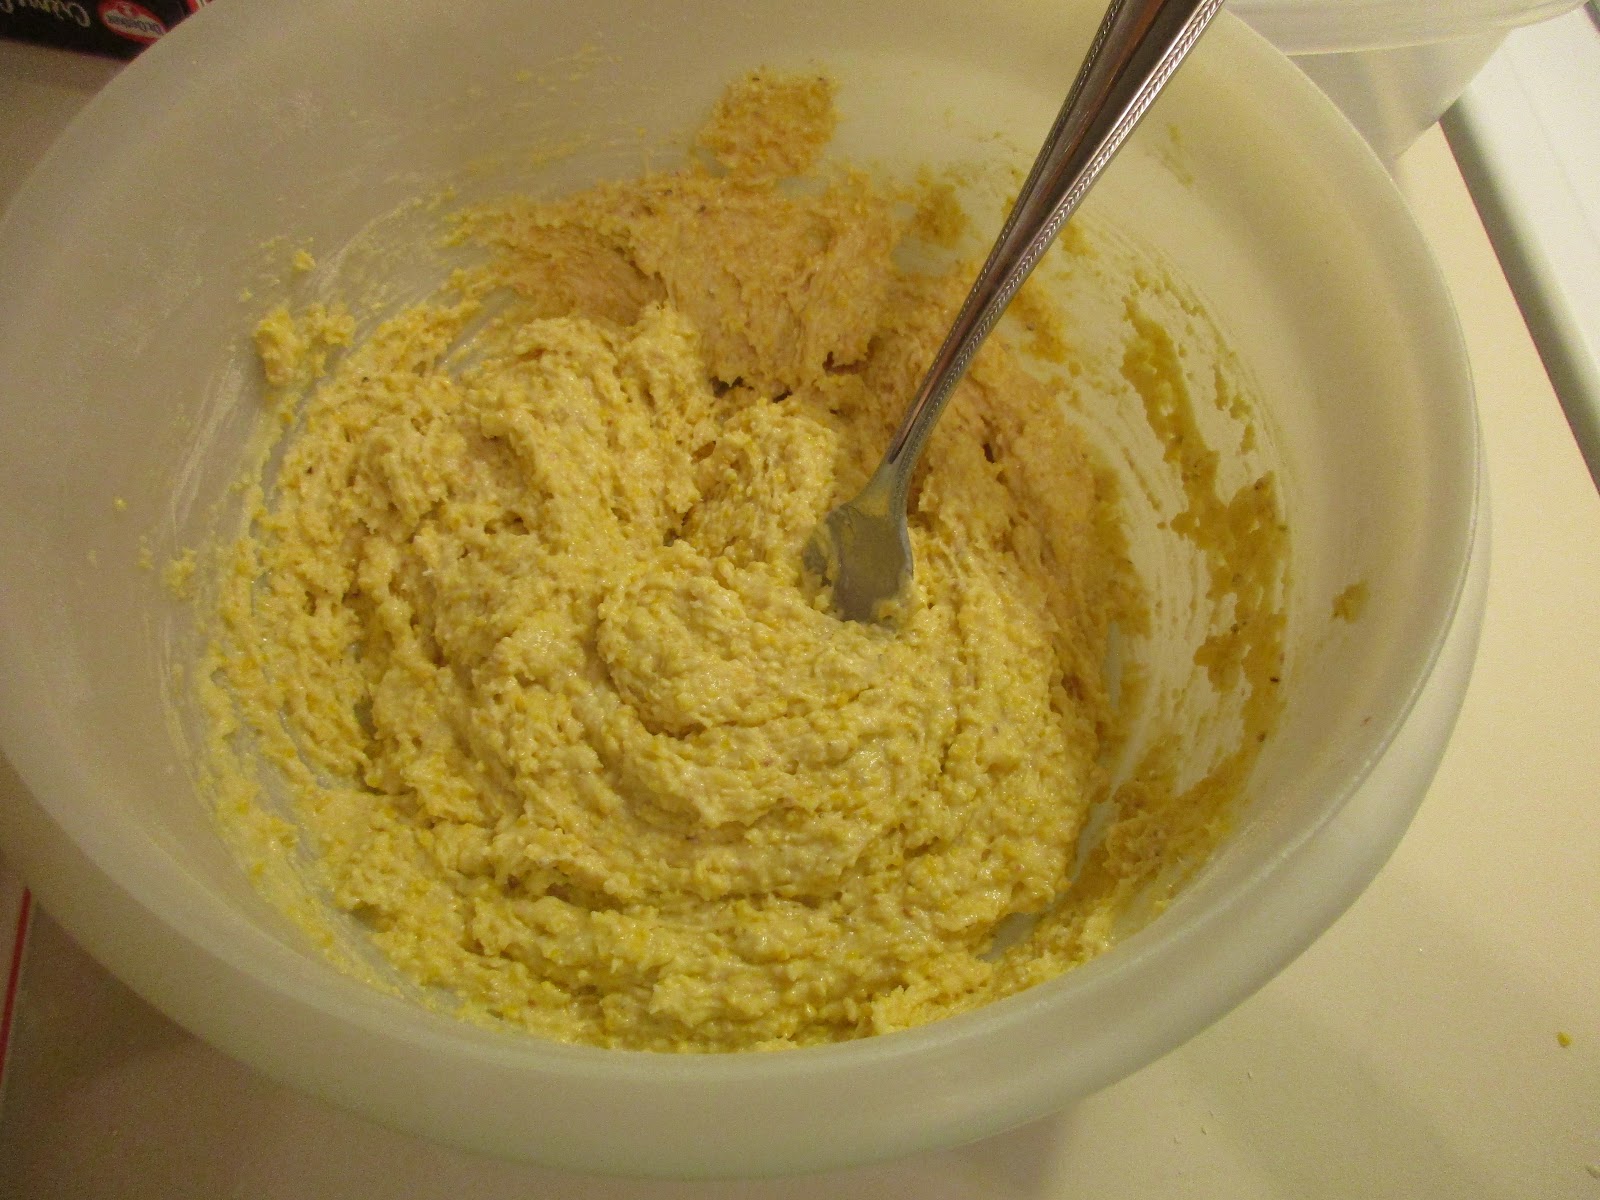
Here it is after you mix in the egg and buttermilk.
And here is the final product after you stir in the melted shortening. The difference is subtle, but you can see that it is a bit smoother than without it.
Here we go into the muffin tin! The bottom and sides did want to stick to the paper liners a bit, so you might consider spraying the liners with cooking spray just to help combat that.
And out of the oven, exactly the 20 minutes it calls for seemed to do the trick.
Here was my final dinner plate. I made the potato salad the night before, and bought the chicken from the deli that night. The red drink next to it is a store-bought frozen juice concentrate I got to help with my plantar fasciitis. What?-You're probably asking me right now. Yep. It turns out that rolling a frozen can of juice concentrate helps stretch and ice the muscles in your foot. And then you get to drink the juice afterwards. (My feet were clean and I had a towel over the can, don't worry!)
I ate the muffins with butter, and a glug of sorghum syrup to dip them in. The sorghum syrup was really tasty with it! I highly recommend this. The only thing to keep in mind with this recipe is that it doesn't not hold out over time. I tried them the next night and they were too dry to be edible. If you make this recipe, I recommend sharing it with others and eating it all the same day you make them.
So, there you have it! A really basic, simple cornbread muffin recipe that is a great starting place if you're not familiar with making them from scratch. It has just enough sugar to be slightly sweet, but not overly sweet like a lot of boxed varieties can be. This is a fast recipe, so don't worry about waiting till after work to make it. And for the most part, it's all ingredients people tend to have on-hand. All I had to buy was the buttermilk, which I never keep on-hand.
I encourage everybody to study up on Juneteenth, and try out this recipe next year to join in with the celebration! Happy eating and celebrating!
All right, so this week's recipe was a fun one! It presented quite a challenge to me, one I really enjoyed conquering! I chose this cheesecake recipe for a specific reason. One of my friends has some health issues that makes eating difficult, and this weekend is the Jewish holiday of Shavuot/Shavuos, the "dairy" holiday, as she explained it to me. She encouraged me to eat as much dairy as I possibly can this weekend in her stead, and I happily stepped up to the challenge! And as her grandmother passed away just a couple days ago, I thought if I could find a good recipe that fit the dairy bill, I could use my grandmother's recipe, to honor her grandmother's memory. So, I looked through the box and found one cheesecake recipe that has cream cheese, butter, and sour cream all in the ingredient list. That's quite a bit of dairy in one recipe, so I knew it was the perfect one to try out.
The recipe's original title is "O Grancho Cheese Cake" or at least that's what it looks like written on the card. There is no known source of this recipe written on the card, so I don't know if that's the name of the person who created the recipe or a company from long ago that created it, or what, but to me, it means nothing. And it tells me nothing about the cheesecake. I looked at the list of ingredients to see if anything stood out. Crushed pineapple in the batter, and coconut flakes in the crust. Bingo! Piña Colada Cheesecake, a much better and accurate name for this recipe.
As I said, this recipe presented me a few challenges. There were very little instructions on what to do to make the crust other than "mix and press in buttered spring-form pan," and that basically tells me nothing. I had to guess and hope for the best. Fortunately for me, it all worked out rather well! And as it turns out, you don't need to butter the pan. So, without further ado, let me share the recipe with you:
Piña Colada Cheesecake
16 oz. cream cheese
2 tsp. vanilla
1 1/4 cups sugar
3 eggs, beaten
3 cups sour cream*
1 can crushed pineapple** (reserve the pineapple juice)
Crust:
1 cup Graham cracker crumbs
1/2 cup slivered blanched almonds, toasted
1/2 cup coconut flakes
1/2 cup butter
1/2 cup sugar
1/2 tsp. almond extract
Mix the cream cheese, vanilla, and sugar well, until fluffy.
Add the beaten eggs, and blend well.
Add the sour cream and mix until completely blended.
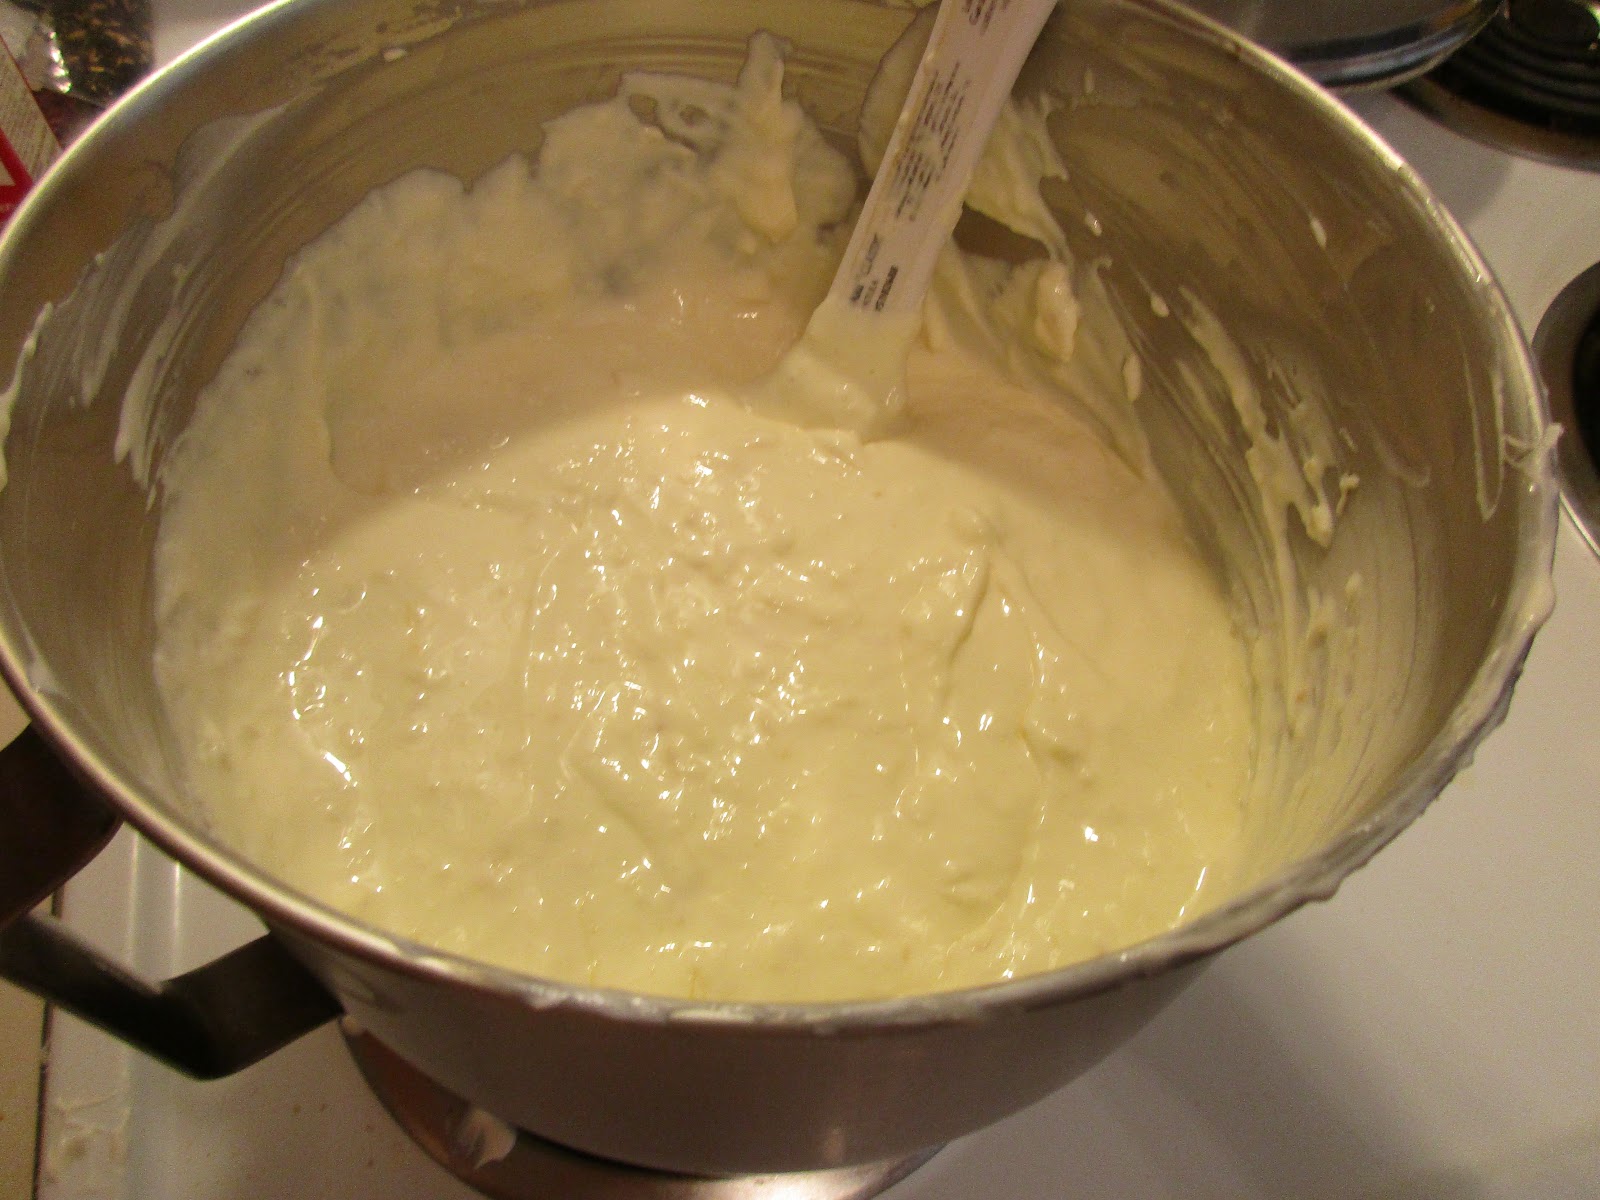
Fold in the well-drained pineapple, and set aside to pour into the crust.
To make the crust:
If you have whole graham crackers, use a gallon-size bag and a rolling pin or a food processor to grind them. I used a food processor for mine. When well-ground, place them in a bowl large enough to fit all the crust ingredients. Place the coconut flakes and toasted almonds in a food processor and process until they're the same size as the crushed graham crackers. Place them and the sugar in the bowl with the cracker crumbs and blend well.
Melt the butter and add the almond extract to it. Pour into the bowl and stir well to fully incorporate it with the crust ingredients.
Dump the crust ingredients into a springform pan and press into the bottom and up the sides. This makes enough to cover the sides nearly to the top. Try to make sure it's uniform, especially on the bottom.
Preheat the oven to 375 degrees. Bake the crust for two minutes to help it set. When that's done, remove it from the oven and pour the batter into the crust. It will nearly cover the sides of the crust.
Bake for 1 hour in the oven, before checking to see how set it is. You will definitely want a sheet pan under this on a lower rack, because butter will melt out of the bottom of the pan and you will regret the mess to clean up, if you don't.
After 1 hour, it may need a little more time to bake. Cheesecake baking is difficult in that it's really hard to tell if it's done, unless you have done this a lot. As I haven't baked a cheesecake in probably 15+ years, I was definitely rusty, and erred on the side of baking longer than it probably needed.
This was after an hour and 15 minutes, and just out of the oven.
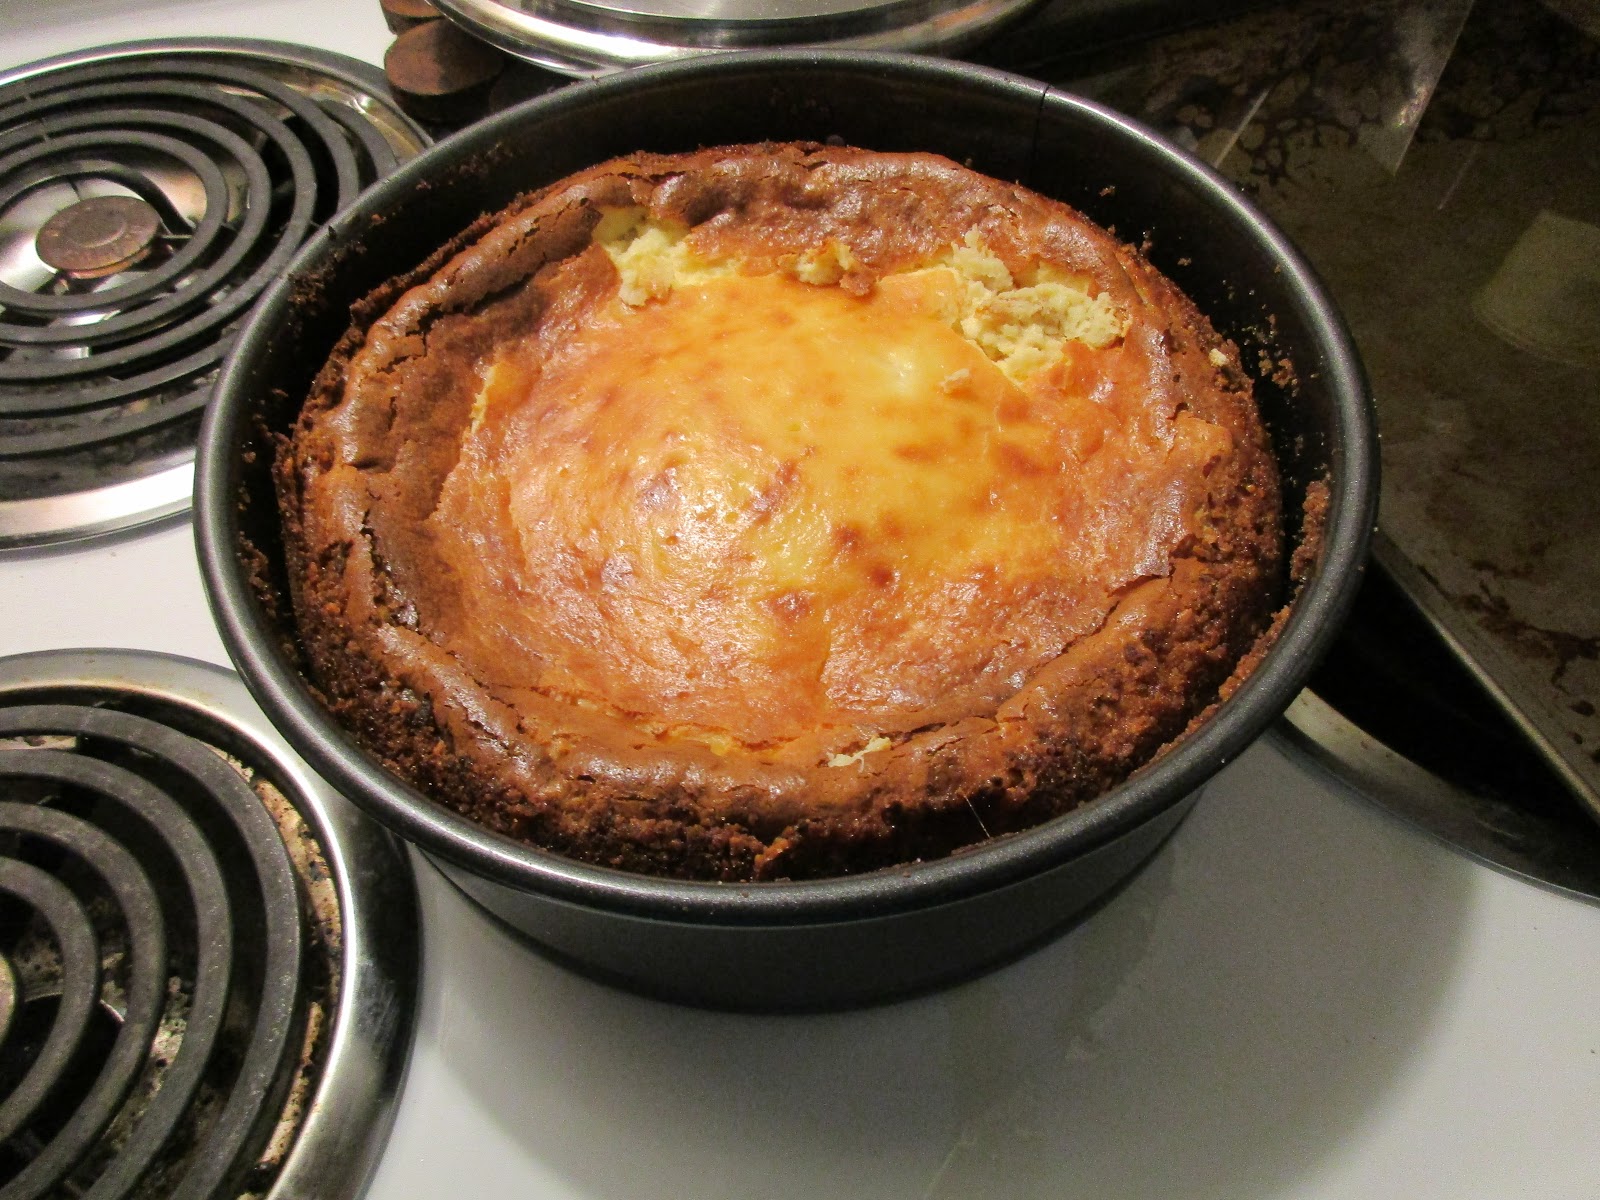
This is after it fell. Cheesecakes fall, it's just what they do, don't worry when it happens to yours! It's browner on top than I would like, and cracked around the edge, but I would rather have a browner top than a raw center. Figuring out just the right time to bake comes with practice, and I need more of it, I think! I will admit, it's not the prettiest cheesecake I've ever made or seen, but it's the taste and texture that matters most. I was happy with the results, ultimately. When this is done, let it sit for a while to cool down a bit before placing it in the fridge to cool overnight.
The next day I took it out of the fridge and removed the side of the springform pan. It was time for a taste test.
I found it actually tasted better when it wasn't super cold, so I recommend letting it sit for a while and come closer to room temperature. The texture isn't perfect, and I can't tell if it's because of the pineapple, or over-baking, or a combo of both, but the flavor is pretty good. But it wasn't pineappley enough for my tastes. So, I thought and thought about it and the answer came to me: the leftover pineapple juice that I had saved from the crushed pineapple. I poured it into a pan and and slowly reduced it over medium heat until it was thick and syrupy. Can I just tell you how amazing it tastes poured over the cheesecake?! I poured the rest of it over the rest of the cheesecake and then for a bit of texture, I sprinkled the extra graham cracker crumbs on the top.
I left a little bit without graham crackers on top so that when I take it to work tomorrow, my coworkers can try it with or without if they like.
So, what did I learn from this baking experiment? I learned that I miss making cheesecake and I should probably do it more often to perfect the timing. I learned that even when a recipe doesn't have all the steps written out, if you have enough of a cooking/baking foundation, you can pretty much figure it out, even without them. I learned that pineapple in the cheesecake might make the texture taste a bit funny, but it still tastes great. And honestly, it's the pineapple syrup that takes it over the top. Do not miss this step. Don't be afraid to experiment. It didn't call for that at all, but it just "made" the dish!
This cheesecake is really rich, and the original recipe says it makes 12 servings. I didn't cut mine into 12 pieces, but feel like those are probably big slices and can probably be cut smaller to make more servings. There's a lot of sugar in this, so smaller pieces are probably the way to go!
Cheesecakes feel really fancy, but they aren't that hard to make. They are hard to gauge the doneness, however. That just takes time and practice. What better time to start practicing, than right now!
I don't know if this recipe is kosher or if my friend's grandmother would have enjoyed it. Some people really hate coconut! But I did take some time while making the cheesecake to think about the elders in our lives, and how it's good to listen to them and learn from them while we have them in our lives. This project is helping me to remember that. I would encourage all of us to listen to our elders, learn from them, learn their stories, while they're still here with us. Make sure to hug your grandparents while you still can!
Happy Baking!
-Foodie
*I actually measured the sour cream into cups, rather than used a pint and an 8oz. container of sour cream. This ended up using a few tablespoons more than those, so make sure you have plenty of sour cream on hand!
**The original recipe does't say what size of a can to use and I had every intention of buying an 8oz. can, but the store brand was all out of that size and there was no way I was paying the price of the name brand, so I ended up with a 19oz. can of the store brand, which was probably still cheaper than the smaller size of the name brand. I didn't use all of it, but as you'll see later, I did use all the juice from it, so I recommend the larger size can.
My original plan was to make this meal last weekend, Memorial Day weekend, when I was going to Leavenworth on Saturday, but I had misplaced the recipe and couldn't find it, and was just too lazy to deal with it all, so I scrapped it till this weekend. I chose this wiener schnitzel recipe because Leavenworth is a Bavarian-style town, and I like German food, so it was a perfect connection. While there, I picked up a package of spaetzle to try, because I've never had it before and it's the quintessential German side dish. Neither disappointed.
The recipe is from a newspaper clipping from an unknown year, from one of the Seattle newspapers, because I can see Seattle-related things advertised on the other side of the clipping, but no date or year listed anywhere. It does say the recipe is a reprint from the San Francisco Chronicle originally. I'll type it out because it's larger than the last recipe and won't show up very well in a photograph.
4 pork cutlets, each about 1/2" thick or slightly less (about 1 1/2 lbs.)
1/2 cup milk
2 eggs, slightly beaten
1 1/2 cups panko or homemade breadcrumbs (see note)
2 Tbsp. butter, plus more as needed
1 1/2 tsp. sea salt or kosher salt
1 tsp. freshly ground black pepper
2 lemons, halved
Preheat oven to 225 degrees and place a serving platter in the oven.
Pound the cutlets until they measure roughly 7" by 10" and are very thin, about 1/8" thick. It takes about 4 minutes per cutlet to accomplish this. The cutlets can be pounded the day before and wrapped in plastic wrap until ready to cook, if desired.
Pour the milk in a shallow bowl, and put the beaten egg in another. Sprinkle the panko or breadcrumbs on a sheet of aluminum foil.
In a large frying pan, melt the butter over medium-high heat. While it is melting, dip one cutlet into the milk, then the egg, and then lay it in the panko or breadcrumbs, then turn and coat the other side. Sprinkle with a little salt and pepper. When the butter foams, put the breaded cutlet into the hot butter. If the pan is large enough, repeat with a second cutlet.
When the crust is golden brown, about two minutes, turn and repeat on the other side, 1-2 minutes. Remove and place on the warm platter in the oven. Repeat, adding more butter as needed, until all are done.
Serve hot, along with half a lemon.
Note: To make homemade breadcrumbs: Simply put dried baguette or other artisan bread in a blender or food processor and chop or process to medium light crumbs.
I started off with two thin-sliced pork chops. Basically one pork chop, cut down the middle. The recipe doesn't say exactly what kind of cut of meat to use, which would have been helpful, so I just went with these, because they were already thinner, and affordable.
And as you can tell, I don't always follow directions as they are written. This is usually because I don't actually really read them until just before cooking, and then I generally wing-it as I go, as long as I got the ingredients right, which I also sometimes don't follow either, cuz what's the fun of following the rules? I mixed the egg and the milk together, like you would for dipping bread for French toast, and you know what? It turned out just fine. Don't bother dirtying up a third plate for the breading process, it's totally ok to mix the egg and milk.
Here is the finished result! I used panko, and half of it falls off, so don't freak out if that happens to you too. Enough will stay on to be delicious and coat it all. And as you can tell, it's not nearly as thin as the recipe says it should be. This is because I spent forever pounding them with a meat mallet and that's as thin as they got. I got worried my apartment neighbors would start to get upset if I kept at it, so I just stopped. Again, if it had said what cut of meat to use, it would have helped because some work better than others for this, and clearly the pork chops I had weren't the right cut. It's ok if yours don't get as thin as they should either, just know that you'll need to cook them longer, but it'll all work out fine in the end. Don't panic.
Here they go in the melted butter. The butter immediately sucked up into the breadcrumbs and I had to keep adding more and more that I finally switched to oil because I was tired of using so much butter. It still needed way more than it called for, so be prepared emotionally to be consuming so much butter and oil in one dish, but sometimes you gotta do what you gotta do, you know? Just work out a few extra minutes the next day and you'll be all good.
Here's the first flip. It does take a few times on each side to get it really browned. Be careful with the tongs because the breading is delicate and will scrape off if you press too hard with them. And make sure to take extra care to fry the edges too, because they won't brown on their own if you don't. If they were thinner, they'd cook faster and probably cook the sides better too. But, just adapt to what you ended up with and it'll be fine!
Here's the spaetzle I bought in a German cheese shop in Leavenworth. It was expensive, but worth it. It's an imported item and you're supporting a small, independent store, so I had no problem shelling out some extra money on it. I just followed the directions on the package exactly, which are thankfully in English, and it turned out great. I know sometimes people fry these in butter after they're cooked, and I'd definitely eat it that way. It would just make it that much more awesome. It's a good alternative from other, more common forms of side dishes, and a must for German entrees!
Here's the final result! Nicely browned, crispy breading which you must put lemon juice on, it just takes the flavor up to a whole other level of deliciousness! This didn't go exactly as the recipe said it would, but it still turned out great. That's the important lesson to be learned with cooking. Don't be intimidated by the instructions. If one way doesn't work for you, find another way!
If you like German food, or want to explore German cuisine more, this is a great starter recipe. It's pretty basic, and quick and easy. I think you'll all enjoy this one! Happy Cooking!
Welcome to my newest food blog project! I have been trying to think of a good project idea for a while, but nothing really jumped out of me as a fun idea. My grandmother is currently preparing to move out of her apartment and bequeathed to me three large containers full of newspaper clippings and recipe cards that she had collected over the years, with the words "You'll probably throw them away, but if you wanted to look through them..." So I took them with me and spent an entire day looking through all of them. I narrowed it down to one tin-worth of recipe cards and newspaper clippings to try out, and was thinking of the best time to try them and it hit me: blog project! "What's in Grandma's Recipe Tin?" is the perfect title for this project.
The inaugural recipe for this project is Oatmeal Cookies.
Oatmeal cookies are delicious, but they're not that exciting. They're pretty basic. So why did I choose it this time? Because look at the recipe-there's no flour in the ingredient list. I thought at first that maybe it was a missed ingredient, but then I noticed there are no eggs in there either, another standard for most oatmeal cookie recipes. That made me start thinking it was written this way on purpose after all, and therefore, was much more interesting as a recipe. I mean, no flour, no eggs, how was this cookie supposed to hold its shape? How would the butter and sugar not just melt out of it, leaving a mess of caramel and oats on the sheet pan? I had to see how it would work out. And if it worked out, it's a viable gluten-free cookie recipe and for people who need that, what an exciting thought!
I made these Friday night and they weren't very hard to make. First step was mixing the oats with the brown sugar. I used old-fashioned oats, not the quick-cooking kind.
After those were blended together, I added the butter, cut into cubes, and mixed it really well until it was blended.
(Sorry the font is different for this, the picture wouldn't let me add a space and freaked out and only let me add a caption instead...)
At this stage, it was almost like a shortbread dough in texture. It doesn't say to, but I refrigerated it at this point for a while to help it stay firm. A while later, I used a small cookie dough scoop to make uniform-size cookies. Some cookies need to be shaped delicately, but since these are so precarious, they actually do better by being rolled tightly into a ball. Don't be afraid to squeeze them into a ball, they'll retain a better shape when they bake.
The wet fork is really an important step because the dough would just crumble if you pressed it with a dry fork. The ones that were pressed down less held their shapes better. I recommend just a gentle pressing down, maybe to about 1/4" thick or so.
The ones with the browner edges were more delicate and crumbly, but the thicker ones held their shape better. Those ones were chewier. Both were delicious, but the crumbly ones are SUPER crumbly. Like, make sure to eat them over a plate or the sink or something cuz you'll end up with crumbs everywhere if you don't!
This recipe made about 5 dozen cookies with the size of the scoop I used. The texture held up the next day when I took them to my family gathering where my father proceeded to gobble them up and then commandeered the rest of the bag. Luckily I have another bag set aside to take to work tomorrow to share with my coworkers.
This was a simple cookie, a delicious gluten-free option for somebody who can't eat gluten and really misses traditional cookies. This was a great inaugural recipe for this project. I get to share them with my friends and family. And hopefully over the course of this project, I'll get to share a lot more delicious food with my friends and family, especially my grandmother, who will be reading along with the blog posts. Grandma, when you read this, know the recipe turned out great! Thank you for passing the recipes on to me!
Last week, Chadwick Boseman hosted Saturday Night Live. While on it, he did a skit as his character, T'Challa, from the movie Black Panther. If you have not seen Black Panther yet, do yourself a favor and go see it while it's still in the theatre. It's worth seeing it on the big screen. In the skit, as you can watch for yourself in the above video link, he references potato salad in conjunction with the stereotype that white people generally under-season their food. "Aw hell naw, Karen!" has become the new viral catchphrase on social media platforms.
While I generally try to steer clear of stereotypes as much as possible, I have to admit to being a Karen at times. I have definitely been guilty of under-seasoning my food. And I went to culinary school! So, in order to not be a Karen, I decided to create my own potato salad recipe that would hopefully not be "bland-ass". And definitely wouldn't have any raisins...! And apologies in advance because this isn't a measuring type of recipe. You just go by what you have and what seems right. So I present to you, my recipe for:
Aw Hell Yah Potato Salad Salad:
Russet potatoes, scrubbed, poked with a fork like you would do for baked potatoes (I used 3 good-sized potatoes for this)
Eggs (I used three. Two for in the salad and one for the garnish)
Bacon (I used the very thick-cut regular bacon from the butcher's counter at my grocery store. Three slices. Two for in the salad and one for the garnish)
Dill pickles, chopped
Dill pickle juice (I used 3-4 Tbsp.)
Black olives, sliced
Green onions, sliced (I used the white and light green parts for in the salad, and the dark green for the garnish) Dressing:
Mayonnaise (about 3/4 cup)
Sour Cream (about 1/3 cup)
Yellow Mustard (about 1-2 Tablespoons)
Hot Sauce of choice (to taste. I was going to use Tabasco but my bottle was really old so I used a bottle of habanero pepper sauce I had on hand instead. I used about a half teaspoon but it could have used a little more.)
Dried dill (to taste)
Black pepper (to taste)
Cayenne pepper (to taste)
Paprika for garnish (this is not optional)
Place the scrubbed, poked potatoes and eggs in a large pan of salted water, over high heat. Bring to a boil and then reduce heat a little to avoid boiling over onto the burner. My potatoes took about a half hour to cook, but remove the eggs after about ten minutes of boiling to avoid overcooking. Just use a spoon to remove them and place them in cold water and set in the fridge to cool down completely.
At the same time, cook the bacon. I usually do the thick-cut bacon like this in the oven. From the above picture, you can see that I put it on a sheet pan covered with parchment paper. I cooked it at 325 degrees for about a half hour, turning it over halfway through and draining off the oil before putting it back in the oven.
When the bacon is cooked, remove it from the pan and let it drain on paper towels. Place in the fridge to cool down.
When the potatoes are cooked through, turn off the stove and remove the potatoes to a large plate. Let them sit a few minutes to cool off a bit before placing in the fridge to cool even more. Don't cool them completely, just get them to the point where you can handle them with your hands without burning them. At that time, use a knife to peel the skin off and cut the potatoes into chunks. Place in a bowl that will be large enough to fit all the ingredients and be able to be stirred without dripping, as well. While the potatoes are still warm, pour the pickle juice over them and mix well, trying not to break up the potatoes too much. (I got the pickle juice idea from a coworker who likes to add pickle juice to her devilled eggs. I thought this might be a good way to season the potatoes themselves and really let flavor absorb into them.) Place the potatoes in the fridge and allow them to cool completely.
For the dressing, mix the mayonnaise, sour cream, mustard, dill, hot sauce, cayenne, and black pepper together in a smaller bowl. When the bacon is cool enough, chop up two of the slices and add them to the dressing. Mix well and refrigerate until ready to use. Note: In spite of T'Challa's disgust that Karen's potato salad was only
seasoned with a little bit of salt, do not put salt in the dressing.
Trust me on this one. There's enough salty elements in this salad that
it's not needed.
When everything is chilled, you can assemble the salad. Peel the eggs, chop two of them and add to the potatoes. Add the chopped pickles, green onions, and sliced black olives. Mix well. Pour the dressing over and mix well. Adjust the dressing ingredients to make sure the potatoes are well-dressed. I ended up adding a little more mayonnaise and hot sauce. Mix just enough to blend everything, but not enough to break the potatoes down.
Slice the last egg, chop the last slice of bacon, and top the potato salad with them. Sprinkle with paprika. Top with the green onions. Cover and refrigerate for at least two hours to allow the flavors to blend together properly.
This is what I ate with my dinner tonight and it was fantastic! I think the pickle juice on the potatoes really helps season the potatoes. You can dress potatoes with highly-seasoned dressing, and most of the time you can still taste the blandness of the potatoes underneath it. This helps combat that. Mixing the bacon into the dressing allowed the flavor to really permeate it. It would be less flavorful just to mix the bacon with the potatoes. I highly recommend doing it this way. And the sour cream adds a depth to the dressing that would otherwise be lacking if I'd just used mayonnaise. This is how I make devilled eggs, so I had a feeling it would work well in potato salad as well. I'm definitely sold on that.
I was really happy with this potato salad! I'm going to give some to my parents tomorrow and I'll probably share some with coworkers on Monday. Beside that, I'm going to eat it all myself!
I would like to think that T'Challa himself would enjoy this potato salad, but unless he comes to visit, or I get a chance to go to Wakanda, I'll just have to speculate! But you can try this out and let me know what you think. And if you come up with even better ideas, let me know!
So, March is Women's History Month and I wanted to acknowledge it. My friend and I came up with an idea to entwine women's history with my food blog by doing a meal in honor of the month. But how to do it? Well, I decided to gather five women from history and do a meal in their honor. Have you ever watched those shows where people from different walks of life gather at a dinner table and they just record whatever is said? It's always interesting, and that's what I had in mind. My friend chose Mae Jemison, and from there I assembled a group of women who worked well with her. Then I planned a meal based on the times and locations they were from.
The women at my "dinner party" last night, were: Dr. Mae Jemison, the first African American female astronaut. Medical doctor, and Peace Corps member, prior to joining NASA. Born 1956, Decatur, Alabama. Still living. Katherine Johnson, one of the African American women who helped integrate NACA/NASA, and helped derive the mathematical equations needed to send John Glenn into space, and later, to send the first astronauts to the moon. Born 1918, White Sulphur Springs, West Virginia. Still living. Valentina Tereshkova, the first woman in the world to go to space, in 1963. Born 1937, Maslennikovo, Russia. Still living. Nichelle Nichols, an actress best known for her role as Lt. Nyoto Uhura from Star Trek and the subsequent movies. Born 1932, Robbins, Illinois. Still living. Amelia Earhart, the first woman to fly across the Atlantic, unaccompanied. Possibly best known for her disappearance during a flight that has never truly been resolved. Born 1897, Atchison, Kansas. No known death date, but based on her birthdate, I doubt she'd still be alive today.
Why these particular five women? Well, this is how I connected them together: Katherine Johnson and Valentina Tereshkova are both part of the Space Race of the 1960's. Nichelle Nichols and Star Trek's success wouldn't exist without the Space Race. She also became an ambassador for NASA and helped draw people of color to the organization. One of those people, was Dr. Mae Jemison, who was so inspired by Star Trek that she actually guest starred on Star Trek: The Next Generation. And none of those women would have been able to do what they did, if pioneers of aviation like Amelia Earhart hadn't started it all with airplanes. I can only imagine that they'd have a fascinating conversation if they'd ever had a chance to get together.
What do you serve a group of women such as these icons? I didn't want to do freeze-dried space food, because it's gross and you can't actually do that much with it. Since most of these women were associated with the Space Race, I thought that focusing on foods of the 1950's-1970's would be best. I scoured the internet and my own recipes and came up with a whopping five recipes! An entree, a starch side, a dessert, an appetizer, and a beverage! And though it wasn't a recipe, I did do a veggie side as well. I was in the kitchen from about 1pm, to 7pm working on all of it! Two of them are my own recipes from my collection, with no sources listed. I will write them out here. The other three are from the internet and I will provide links to those recipes, as they aren't my own.
Sparkling Strawberry Lemonade
1 pt. strawberries, leaves removed, chopped
1 cup freshly squeezed lemon juice, about 4 lemons-worth
3/4 cup superfine sugar(superfine really is the better kind of sugar for this recipe as it dissolves more easily. The mixture isn't heated, so regular sugar wouldn't dissolve in it.)
Seltzer water, unflavored, chilled
Puree the strawberries with the lemon juice and the sugar.
You can refrigerate this mixture until ready to serve. When you're ready to serve it, pour some of the lemonade concentrate into the bottom of a cup and top it off with the seltzer water. Adjust to your tastes by adding more water or concentrate, if needed.
This one is suuuuuuper delish! It's bubbly and tangy and just sweet enough. I was really happy with this recipe.
Next up, is Shrimp Salad on Cucumber Slices
This is a pretty basic shrimp salad recipe. You use celery, dill pickle relish, green onions, chopped shrimp, and mayonnaise. I used the medium-sized, 51/60 shrimp, as opposed to bay shrimp because I don't think bay shrimp has much flavor. My grocery store sells it already cooked, fresh, in the fish section, so I bought a handful and cut off the tails before chopping them up.
I put some of it on cucumber slices, as the recipe calls for, and some on Ritz crackers. Both worked great!
I used dried dill as a garnish and that just made the color pop even more. This is a really simple, but elegant appetizer. Next up, was my entree...
Easy Baked Chicken Kiev
6 skinless, boneless chicken breast halves
1/3 cup seasoned Italian-style bread crumbs
1/4 cup Parmesan cheese
1 tsp. dried oregano, divided
Black pepper
2 Tbsp. butter, softened
1 Tbsp. finely chopped parsley
1 egg, beaten with 1 Tbsp. cold water
3 oz. low-fat Monterey Jack cheese
1.) Place breast halves, one at a time, between two sheets of plastic wrap. With the flat side of a mallet or with a small heavy frying pan, gently pound breasts until each is about 1/4" thick. Set aside.
2.) Combine bread crumbs, Parmesan, 1/2 tsp. oregano, and a little black pepper. Spread on a plate and set aside.
3.) Mash together the softened butter, parsley, and 1/2 tsp. oregano; set aside. Whisk egg with water, pour onto a plate and set aside.
4.) Cut the cheese into 6 sticks, measuring about 1.5"x2". Set aside.
5.) Spread a little of the seasoned butter on each chicken breast. Lay a piece of Jack cheese about 1" from lower edge. Fold lower edge of breast up over cheese, fold in sides and roll up to enclose filling. (Note: I ended up having to use toothpicks to secure them. Just make sure to remove them before serving.)
6.) Roll each bundle in egg mixture, then in bread crumb mixture, until evenly coated. Place bundles, seam-side down, without touching, in a 9"x13" baking dish.
7.) Bake, uncovered, in a preheated 425 degree oven about 20-25 minutes, or until no longer pink in the center.
As you can see, I only did two instead of six, but it turned out really well! If you have never had this dish, as I hadn't, it's the same basic concept of Chicken Cordon Bleu, but without the ham, and a different type of cheese. I chose this dish because I feel it would have been considered the height of sophistication for the time period at which I was aiming. I took the toothpicks out and cut the chicken into slices to display the melty cheese. It felt even fancier that way!
For my starchy side, I chose this recipe: Minute Rice Pilaf. Why Minute Rice? you might ask. Because it's the food of the future! It's science and it's food! And it cuts down on the amount of time it takes to cook, thus giving the average 50's-70's housewife more time to do other things than housekeeping. She can have more time in her day to pursue her interests outside the home! What we today in 2018 might scoff at as "cheapo" or "lazy" food, was revolutionary when it came out. Women didn't have to worry as much about coming home from work(if they were one of the ones who worked outside the house) and having to spend hours preparing dinner for their family(because of course they were still expected to keep house and tend the children).
I must admit, I was skeptical at first of the idea of Minute Rice. I think I'd tried some in the past and haven't cared for it. This particular recipe is a rice pilaf, slightly akin to Rice-a-Roni(don't be a food snob, you know you eat the stuff!) but it actually cooked faster! It had less powdered ingredients, and more natural ingredients. I used chicken broth, but fortified it with a sodium-free chicken bouillon packet to keep in the spirit of the recipe. I also used the dried parsley flakes because I think fresh parsley is generally a huge waste of time that doesn't really add much to the final outcome of a dish, besides being a pretty bit of green on top. I happened to have the slivered almonds on hand, and I threw some in as well. If you have some, I highly recommend it. It adds flavor and texture.
Here are all the elements, prior to being fully cooked. I was really pleased with the outcome of this dish. It was flavorful and the rice tasted just like any other rice. The texture was great. And it only took five minutes!! It's really quite incredible. I highly recommend this recipe.
For my veggie side dish, I had a mixture of green beans and asparagus. I sprinkled them with dried tarragon, salt, and pepper. I poured on a little olive oil and mixed it all on a sheet pan and roasted them. The tarragon works really well with these vegetables. It all just tasted like spring! And it was quick and easy.
Here's the meal, in all its glory! As you can see, I cut the chicken into slices and the cheese is showing. The flavors of all these items worked really well together. It was filling, but not heavy, and it all looked so elegant! I was extremely happy with all of it. I would eat any single one of them again!
Now, onto dessert. So far, everything felt centered on the people from the 60's, so I wanted to have something dedicated to the time era of Amelia Earhart. I turned to the 30's and looked around for recipes, and found this gem: Grandma's Great Depression Cake. This was a fun one because most of it was actually cooked on the stove! And it involved some food science!
You start by boiling most of the items on the stove. It sounds wacky, but it works!
Post boiling. You can see that the raisins have absorbed some of the liquid.
This is the fun science part! Baking soda and salt are mixed with water before being poured into the slightly cooled mixture and it bubbles and froths! This is where the leavening comes from.
Baking powder and flour get mixed and then added to the frothy liquid.
The final batter before it gets poured into the pan to bake. It looks like a cake mix to me!
Freshly out of the oven! Mine needed only about 50 minutes to bake, so I recommend testing it after 45 minutes and seeing where it stands, baking-wise. When it cooled down, I sprinkled it with powdered sugar.
This was my piece for dessert last night. It's really dense and moist and tasty! It's like a gingerbread cake, but there's no ginger. It was still wonderful the next day when I shared it with my family for Easter dinner. The rest will be going to work with me where it will probably be eaten in ten minutes!
This whole meal was incredible! I loved every bite of it and every moment of preparing it. I have plans for more meals next March to do this again, hopefully at least twice. So, if you liked this post, stay tuned for next March where I will do more posts like this!
Looking for something to watch while you eat this amazing meal? Here are a few suggestions:
-Hidden Figures, the story about Katherine Johnson.
-Night at the Museum Two, featuring Amy Adams as Amelia Earhart.
-Any episode of the original Star Trek series.
-Episode 6.24 of Star Trek: The Next Generation, guest starring Dr. Mae Jemison.
And if nothing else, watch this hilarious Drunk History story of Nichelle Nichols and how she integrated not only science fiction, but all of space!
I hope everybody had a lovely Women's History Month. I'll see you next year!