Sunday, October 25, 2020

The 12 Weeks of Christmas-The United States and Canada

Week 3: The United States & Canada


(Source: Britannica.com)

Neither the United States, nor Canada shows up on my DNA tests, of course, as I have no Native blood in me, but these are the countries of origin for my parents and grandparents, so I thought it was appropriate to include them in this project. And it wasn't as easy as you'd think, to find foods for these two countries that aren't too "done" by other countries that will be featured in this project.

Canada's recipe was very easy to decide on. It's one I've heard of a lot over the years but just never tried. And for once, I actually had a recipe card to test out, which means I can share the recipe here!

I have had this recipe in my collection forever, but for some reason, have never tried it. It's old enough that I don't know the source, so I can share it here. Just know, I didn't invent this recipe! This is called a Tourtiere, or Pork Pie.

1lb. ground pork

1tsp. salt

1/2 tsp. pepper

1/4 tsp. nutmeg

1/8 tsp. mace(this is really hard to find and very expensive. It's part of the nutmeg plant, so if you don't have any on hand, don't go out of your way to get it, just use a smidge extra nutmeg and it'll be fine.)

2 tsp. cornstarch

Pastry for 2-crust 8" pie(I used store bought, and it worked just fine) 

Combine all ingredients, except pastry, with 1 cup water. Blend thoroughly.

Simmer, uncovered, stirring frequently, 30 minutes.


Line an 8" pie pan with pastry, pour in meat mixture.

Cover with remaining pastry. Press edges together and prick with a fork to allow steam to escape during baking. Bake in a 425 degree oven for 10 minutes before reducing temperature to 350 degrees. Bake 35 minutes longer or until top is brown. Serve hot. Makes 6 servings.

 
Here's the final product, just out of the oven. Nice and golden brown!
And here's the final product, cut and presented on the plate! It's a very simple dish, but it's really tasty. I would say it almost borders on too salty for my tastes, and I'd probably cut the salt down to 3/4 tsp. There are fancier versions of this dish you can find online, but I wanted to try this very basic version for the first time I made the dish. 

This was really delicious and I would definitely eat it again. I'll be eating leftovers throughout the week. This might freeze and thaw well, but I would have to test that to know for sure.

The United States was definitely a hard one to find a recipe for. All of our traditions come from other places, so I had to think long and hard about foods and traditions unique to this country. It finally came to me: Jell-o salad. A 60's and 70's classic, and nearly every white family in this nation has the family jell-o salad recipe. Admit it, if you're white, you know this salad. It usually involves lime jell-o and pineapple and some sort of dairy. Admit it, there's nothing to be ashamed of, I promise. So, I went about tracking down a jell-salad that wasn't the same as our family recipe, and ran across one that sounded promising.

 
I made some changes based on the fact that I didn't notice that the cream cheese layer called for plain gelatin, and I didn't get any from the store. Then I decided the cream cheese layer sounded kind of gross anyway, and it was a happy mistake in the long run. I also thought of a way to keep it cool-looking though.
Instead of doing the cranberry layer all as one, I cut it in half and did a cranberry layer, then the lime layer, then the second cranberry layer, so it still had three layers. This is the strawberry jell-o with the cranberry sauce mixed in.

Here is the lime layer with pineapple juice and the crushed pineapple. I let every layer sit for a couple hours in the fridge before adding the next one, and they managed to be distinct layers.

Here's the lime layer on top of the first cranberry layer.

And the top cranberry layer. You definitely need to start this in the morning in order for it to be fully set up by dinnertime.

Here you can see the three distinct layers on the plate as I get ready to taste it. It actually has a great flavor and if you like pineapple, you'll enjoy this for sure. The cranberry sort of just melts into the jell-o so you don't feel like you're eating cranberries at all. 

I found this incredibly sweet and was unable to finish my serving. I haven't eaten jell-o in so long I honestly can't remember when I had it last, so I had my sister taste it for me. She assured me it wasn't overly sweet, if anything it was less sweet than normal jell-o, so if jell-o's your thing, definitely give this one a try!

I had fun making these two recipes today. After last week's disaster, I really needed a win! I think I got it, and now I'm feeling very happy about this and ready for next week! Happy cooking!


Sunday, October 18, 2020

The 12 Weeks of Christmas: Week 2-Spain

Week 2 was supposed to be the Iberian Peninsula, but Portugal's recipe was a huge and incredibly disappointing fail, so it's been left over and now it's just Spain. I'm not going to bother sharing the recipe that failed spectacularly. I'm not going to share the tale of the week I spent making the candied pears that ended up being cold and slimy, or the candied oranges, which did turn out ok. I will share that recipe down the line, if I end up using them for something else that manages to turn out ok. I'm just disappointed and a little bitter that I spent a week prepping for this and all day working on a recipe that is now currently sitting in the compost pile waiting to be taken out. Sigh...Ok, enough feeling sorry for myself. Let me share the recipe that did work out!

(Source: Britannica.com)


 Spanish Tortilla

This is a very simple, basic, and well-known Spanish recipe. It's called a tortilla, but it's really an omelet. A potato and onion omelet. I've never made one over the years, even though I've always wanted to try it. I decided this was the year to make it.

So, you chop the onions and slice the peeled potatoes and sprinkle them generously with salt. The potatoes need to be sliced really thin.
It's supposed to be all olive oil, but I didn't have enough so I supplemented with vegetable oil for the rest. You're not really frying the potatoes, you're basically boiling them in the oil slowly. When the potatoes are that thin, it doesn't take too long to cook them, which is nice.
Post cooking, removed from the oil with a slotted spoon and left out to cool down. I added more salt at this point, as well. I was left with a lot of leftover oil which I couldn't in good conscience just get rid of, so I'll probably use it to make hash browns until it's all used up.
When the potatoes are cool, you pour in the mixed eggs and stir together well.
Then, into the frying pan it goes, with a little bit of oil. Now, I was supposed to use a clean, large nonstick frying pan, but I chose to use the same pan I cooked the potatoes in, which isn't a non-stick pan, and had potato and onion bits in it still, so I knew pretty much the outcome of this. I did it anyway.

As you can see, the result is more of a scramble after you flip it to cook the other side. The good news is, a scramble and a proper omelet taste exactly the same, so it doesn't really matter in the long run!

This tasted really good and would make a good breakfast or brunch dish. I think the idea of a Christmas brunch sounds amazing and a dish like this would be really easy to throw together on Christmas morning.

This made a lot, and I will be eating the leftovers for dinner tomorrow night and lunch throughout the week! 

Well, hopefully next week's recipes won't fail so badly on me as the first recipe did for me today. At least I have some deliciousness to look forward to this week!

Feliz Navidad!


Sunday, October 11, 2020

The 12 Weeks of Christmas-Week 1: Cameroon


Welcome to my 12 Weeks of Christmas blog project! Here I will be trying out foods eaten around the world during the holiday season that I have never made before. I narrowed it down to to the nations that showed up on my Ancestry.com and 23andme DNA test results. Some weeks will be full meals. Some weeks will be all desserts or baked goods, and some will be a mix. I'm really looking forward to trying out the really traditional classics that I've eaten or seen my whole life, but never bothered to make from scratch. 

Week 1 is Cameroon, a nation in Central Africa.

Christmas in Cameroon. 


(Map source: Britannica.com)

I found some really delicious recipes to try and was happy that all of them turned out well! This was originally supposed to be Cameroon and Congo, but the recipes I selected ended up being only Cameroonian, so I decided to just focus on the that country this time.

For my main entree, was a chicken dish called Kati Kati. And for the side and veggie, were Njama Njama and Fufu.

Since these recipes are not mine, I will not be writing them out, but the links will take you to the recipes.

First up, is the Kati Kati. This is a grilled chicken dish that is finished in the sauce. The chicken is marinated in a delicious blend of spices and oil, and the sauce is made from fresh tomatoes and onion. I used the tomatoes from my porch that have finally been ripening and they were really amazing!
The sauce is made in a food processor. You can add a little water if you need to, but my tomatoes were so ripe I didn't need to add any at all. In the bowl next to it is the cornmeal and water for the fufu(more details below).
Post pureeing. It smells so amazing! Because the chicken gets added to the sauce and it's so highly seasoned, you don't need to add more seasoning to the sauce. You put this in a pot on the stove with a Tablespoon of tomato paste and heat well. I did end up having to add more water as it did get a little too dried out, especially when you add the chicken and need to let it cook for a while.
Post-marinating, using my grill pan to get a nice grill on all sides. Super easy this way but you could just as easily do it on a grill outside if that's an option for you.
I think the grill pan worked really well. I highly recommend having one if you don't already have one!

Once it's nicely grilled on all sides, you add it to the sauce and blend well. This is when I added about a half cup of water to allow the sauce to cover the chicken well. Cover the pot and let it cook over low heat till the chicken is cooked through. The recipe I used called for thighs, but I wanted to use up some legs I have in the freezer. I think any cut would work, really.

Next up is the Njama Njama. I used collard greens since turnip greens aren't available here. More fresh tomatoes from my plant, a habanero pepper, and regular onions are the basis for the dish. It calls for smoked turkey, but I wanted it to be meat-free, so I used smoked paprika instead of regular as a trade off.
You start off sauteing the onions in oil before adding the tomatoes and pepper and the recipe calls for Maggi cubes, which are chicken boullion cubes, so I used what I had on hand instead. I have a bottle of powdered bouillon I got when the pandemic started and for some reason chicken broth was hard to find. I wanted some sort of option, so I got that instead. It's not a general go-to for me, but it's not bad. Added to the vegetables like this was a new idea to me, but it turns out it's a great flavor!
This is after it's cooked down. I added the smoked paprika too. I didn't add salt, as the bouillon is salty enough already to not need more.

You blanch the collard greens and drain them well before adding it to the pot and blending well. This turned out to be really tasty! I cut the pepper in half and removed the pith and seeds and kept the halves intact so I could remove them more easily. I'm a spice wimp, but this turned out to be just perfect!

The last element of the dish was the Fufu. Fufu is a really popular and common side dish in West and Central African cooking. It's very simple, just cornmeal and water. You don't even add salt. It's sort of a polenta or like the base for tamales, but without any filling.

When you finish cooking it, you portion into plastic wrap or foil and shape them into balls. I think if I had to do this one over, even if it's not generally done, I would have added some salt. It was really plain. But I mixed some of the sauce from the chicken and stirred the greens into it and it was fine after that. The pictures I've seen online made it look like it was supposed to be firmer than it was. I think it's traditionally eaten with your fingers and you're supposed to shape into a ball. Mine was softer than that, though I did try to eat it with my fingers but it just made a huge mess so I switched to a fork. It's possible I needed to use finer cornmeal than I had, but I just used what I had on hand.

This turned out to be a colorful, flavorful, fun meal to make. It's Christmas colors you get to eat! Just look at it! This was really delicious and I have leftovers to look forward to tomorrow night. I would definitely make this meal again.

I think it does make it extra special to cook foods that you know your ancestors probably ate. Foods that connect you to where they came from. I found myself thinking about them and wondering what life was like for them. My African ancestry comes from my mom's side. We speculate it's all through my mom's dad, but as neither of my grandparents are alive on that side of the family, we're unable to trace our DNA definitively past my mom's generation. It's possible some of it came from my mom's mom, but we'll likely never know for sure.

If you're looking for something really different for a Christmas dinner this year, this would be a great option! I highly recommend this meal!


Thursday, April 16, 2020

Jumping On the Sourdough Bread Bandwagon

I haven't written in my food blog in forever! Life's been in the way of any blog-worthy cooking or baking for quite some time, but now, life has ground to a halt. I'm stuck at home with nothing to do, and a fully stocked kitchen. What else am I going to do but eat well during this pandemic?! I've never been more grateful to have attended culinary school than I am right now.

One of the trends these days is baking with sourdough starter. Why is that? Because everybody else in this country is baking too, and yeast is nowhere to be found on grocery store shelves. True sourdough draws natural yeasts from the surrounding air to work, meaning you don't need those strips of dried yeast from the store. Flour is hard to find too, so if you see some at the store, stock up!

I love sourdough bread, but have never thought to try making it myself. It sounded difficult and time consuming and intimidating. But now that there is an abundance of time and something difficult and intimidating now sounds like a challenge to triumph over, I figured there's no better time to try it. So, I did some research online and scoured my own cookbooks and found one that had sourdough starter in it:
I shouldn't be surprised. I've always said that if I was trying to survive in the wild, all I'd need are my copies of the Little House on the Prairie books and I'd be set. Of course sourdough starter would be a necessity in times when purchased yeast was scarce, if available at all. So, I used this as the basis for my starter. I emptied out a jar, cleaned it really well, and got started.
The flour and water, mixed in the jar, with a fork.
Starter is just flour and water. It's really that simple. I mixed it right in the jar, which is why you can see it on the sides in the second picture. It's not really that full, it's just got residue on the sides. I had cheesecloth on hand so I chose to use that to top it. That way it would have a steady source of oxygen, and the yeasts in the air could get into it, yet any big things wouldn't fall in.

One of the hardest things for me was finding a warm enough spot for it to try and ferment. My apartment has been pretty cool for most of April and we don't have the heater on. I had a desk lamp I wasn't using and set it up on the kitchen ledge, but the new light bulbs they make don't heat up the way the old ones did, so it didn't really do anything, sadly. I soon discovered, though, that my bedroom gets the afternoon sun and if I open the shades and set the starter jar in the sun, it'll get hours of heat. I've been doing that nearly every afternoon! The first two nights, however, I hadn't discovered that yet, and was wrapping the jar in my winter hats and scarves and a towel to try and keep warm overnight. I was sad because it seemed like nothing was happening. But lo and behold, by Wednesday, just two days after creating the starter, I saw signs of life!
Bubbles on the top!
Liquid on the top, which I have since learned is referred to as "hooch". It also seems to be the source of the majority of the sour smell. It's apparently alcohol and can either be poured off or stirred back in. When you see this, it's a sign that your starter needs to be fed.
Top view of the bubbles.
Signs of bubbles and fermentation all throughout the starter. It's also starting to rise a little too at this point. This was such an exciting day to see that it was actually working! This is also the stage where it was ready for its first pouring and feeding. You pour off some of the starter and feed what's left, so it continues to grow stronger and can begin to ripen. This is also the stage where you start refrigerating the starter. I have ended up doing a mixture: Out on the counter or in the window during the day to keep fermenting, and then refrigerating overnight.
The little blue bowl is a flour/water slurry used to feed the starter. I tended to use 2 Tbsp. each of flour and water per day.
The bowl contains the first pouring off that I ended up giving to my parents. My mom has been tending to it and told me today hers is really thick and active and she's going to make biscuits in the next day or two!

My starter has almost always been like pancake batter in texture. That will be just fine for biscuits, pancakes, and waffles, but not for an entire loaf of bread that won't have any other yeast added to it. One day I decided to experiment and just dumped straight flour into it instead of the slurry. It really started to thicken up that way. I am keeping that in mind, moving forward.

I've continued to ripen and feed my starter and decided yesterday it was ripe enough to try making biscuits. The biscuit recipe in the Little House cookbook made too many for me to use. I don't need 30 biscuits!! It had some steps that I couldn't deal with properly if I quartered the recipe, so I deviated and found a recipe online to try instead. I found this one: King Arthur is pretty important in my life right now, so I thought this website would be a good place to try! It turns out I was right! I halved the recipe because I don't need 7 biscuits, and still managed to make an extra one than what it should have made.
I had kept the second pouring-off of the starter in the ripening process and decided to use it in this. I measured it in a 1/2 cup measure and used my other starter for the rest. The rest of the starter I used to build up for making bread next week. I will need more than I currently have, which means I need to feed it bigger amounts than I've been feeding it so far. I used a whole soup bowl full of flour and water to try and get it going.

But back to the biscuits. As you can see, I used the recipe to make the crumbly base of the biscuits, yet the starter provided the liquid. This makes the softest, smoothest dough you will ever work with. They feel like pillows, I swear! You don't need a rolling pin for this, just your hands patting it out works fine. I cut the biscuits and put them on a parchment-lined baking sheet.
I was curious how the sour level would be. The dough smelled pretty sour, but it seems that the baking process dulls it a bit. That's one of the interesting things about making your own starter. You never know how sour it will actually be.
You can see that they split in the middle on their own. I only needed 20 minutes to bake mine, but it might take up to 23 minutes to bake.
This is split in half. They are light and soft and the sourness was pretty mild. My sister, who hates sourdough, tried one and was so impressed she asked me to make more sometime! I'd say that's quite the endorsement! I still have a couple leftover to eat tonight with my dinner. Looking forward to it!

The rest of the week and weekend I'll be working on building up the starter in both size and strength. I might let it sit outside on my porch for a bit in hopes of it absorbing some more yeasts from the air. I will continue to document this process through pictures as I try the bread next week. And when I do a pour-off, instead of just tossing it, now I know I can make things with it! Biscuits, pancakes, waffles! My sister and I will continue to be well-fed during this pandemic!


Friday, September 27, 2019

Calling All Tea Drinkers!

Today, this article came out talking about a study showing how microplastics are leaching into our tea, due to plastic-based tea bags or the plastic used to seal tea bags. This applies even to paper-based teabags. Now, according to this article, there is little or no known risks to ingesting microplastics, as most of it just washes out of our bodies. However, it also states that there needs to be more studies done on it to make certain that's the case. Now, I don't know about you, but even if there is not a lot of known risk to drinking plastics, I'd rather not, if I don't have to.

There are plastic-free tea bags available, but they tend to be hard to find and very expensive. I can't really justify that expense. I'm also trying to find more environmentally-friendly options for tea and was already looking into this when this news story came my way. The obvious best choice for less packaging and no plastics, is of course, loose tea leaves. Many grocery stores sell loose teas in bulk in a multitude of flavors that you can buy in as large or small a quantity as you like. I highly recommend switching to loose tea. It's not only the most environmentally-friendly option, but it's the most affordable one too. It's a win-win for tea drinkers.

Well, if you're going to switch to loose tea leaves, you're going to need at least one accessory you may or may not own yet: a tea steeper. They come in every shape, size, and in many different materials, but I only use one kind:
I have a silver one that has a mesh-style bulb. It's all metal, which is important to me. There are plastic tea steepers, but that just puts you right back in to the plastic issue. There are silicon ones, and I don't know much about silicon, it might be perfectly harmless, but I do know it doesn't come from a garden. I prefer metal because it holds up better, lasts longer, and has less of a chance of leaching stuff into my tea that isn't tea. You want something with small holes, or mesh, to keep even the smallest pieces from getting into the water. This is the perfect style. There is another metal one I have tried that you might think is a good option, but I do not recommend it. That is this one:
It's metal and mesh, so it should be perfect, right? Wrong! See how the sides come together and there is a little clip that holds them? That clip comes undone and will spill tea leaves into your water. I have ruined a few cups of tea with these before. I do not recommend!

There is one more accessory you will need, that you may not already have: a tea bag holder. This might seem like an unnecessary item, but your steeper will continue to drain liquid when you've finished and you will damage surfaces without putting it on something that will contain it. These are super cheap and most are machine washable, so you can just throw it in your dishwasher with the rest of your dishes.

So, now you're all set for loose tea leaves, you're ready to go! But what to do I do with all my boxes of tea bags? You are probably asking yourself this right now. I contemplated this for a bit today and came up with what I think is an ingenious idea. Take the tea steeper, cut the teabag open, and pour the tea into the steeper! Use up your old tea, so you don't waste it, and then switch to loose leaf tea. You can compost the tea leaves when you finish with it.

I, of course, am not telling you what to do, but I would imagine that you, like me, have some concerns about the idea of drinking microplastics in your tea. I think it's very important to be informed, so if tea is an important part of your life, you might want to look into this and decide if this is something that bothers you, or not. The good news is, there are easy fixes to this issue!

Sunday, July 7, 2019

What's in Grandma's Recipe Tin?-Ham-Kraut Bake


Today's recipe comes courtesy of the April, 1966 issue of Family Circle magazine. It's a clip-out recipe card so rather than write out the recipe here, I took a picture of it instead!
As you can see, the recipe isn't terribly involved and has a minimal amount of ingredients. I already had an opened jar of sauerkraut in the fridge that needed to get used up, so this was the perfect recipe for it. And sadly, it's been so cloudy and cool here that the thought of an oven-baked casserole doesn't seem inappropriate, even though we're in post-July 4th Seattle, and it's supposed to be hot and sunny now.

This recipe was super easy, and can be made ahead of time. I actually made it in the morning and left it in the fridge to bake for lunch. It doesn't say exactly what kind of pan to use, but I used an 8"x8" pan and it fit just perfectly.
Here's the obligatory ingredient line-up shot. As you can see, there's not a lot involved! To make 2 cups of diced ham, you'll need 1.5 (8oz) ham steaks, so make plans to use the other half in something else, or buy the already diced kind from the store. I don't like that kind as much though, cuz the texture always seems off.
Here is the drained sauerkraut. I tried pressing it with a fork in a colander but it doesn't do much. You will need to actually squeeze it with your hands to drain it. You'll be surprised at how much you get to drain out. Fluff it with a fork afterwards and it'll make it easier to stir everything else into it.
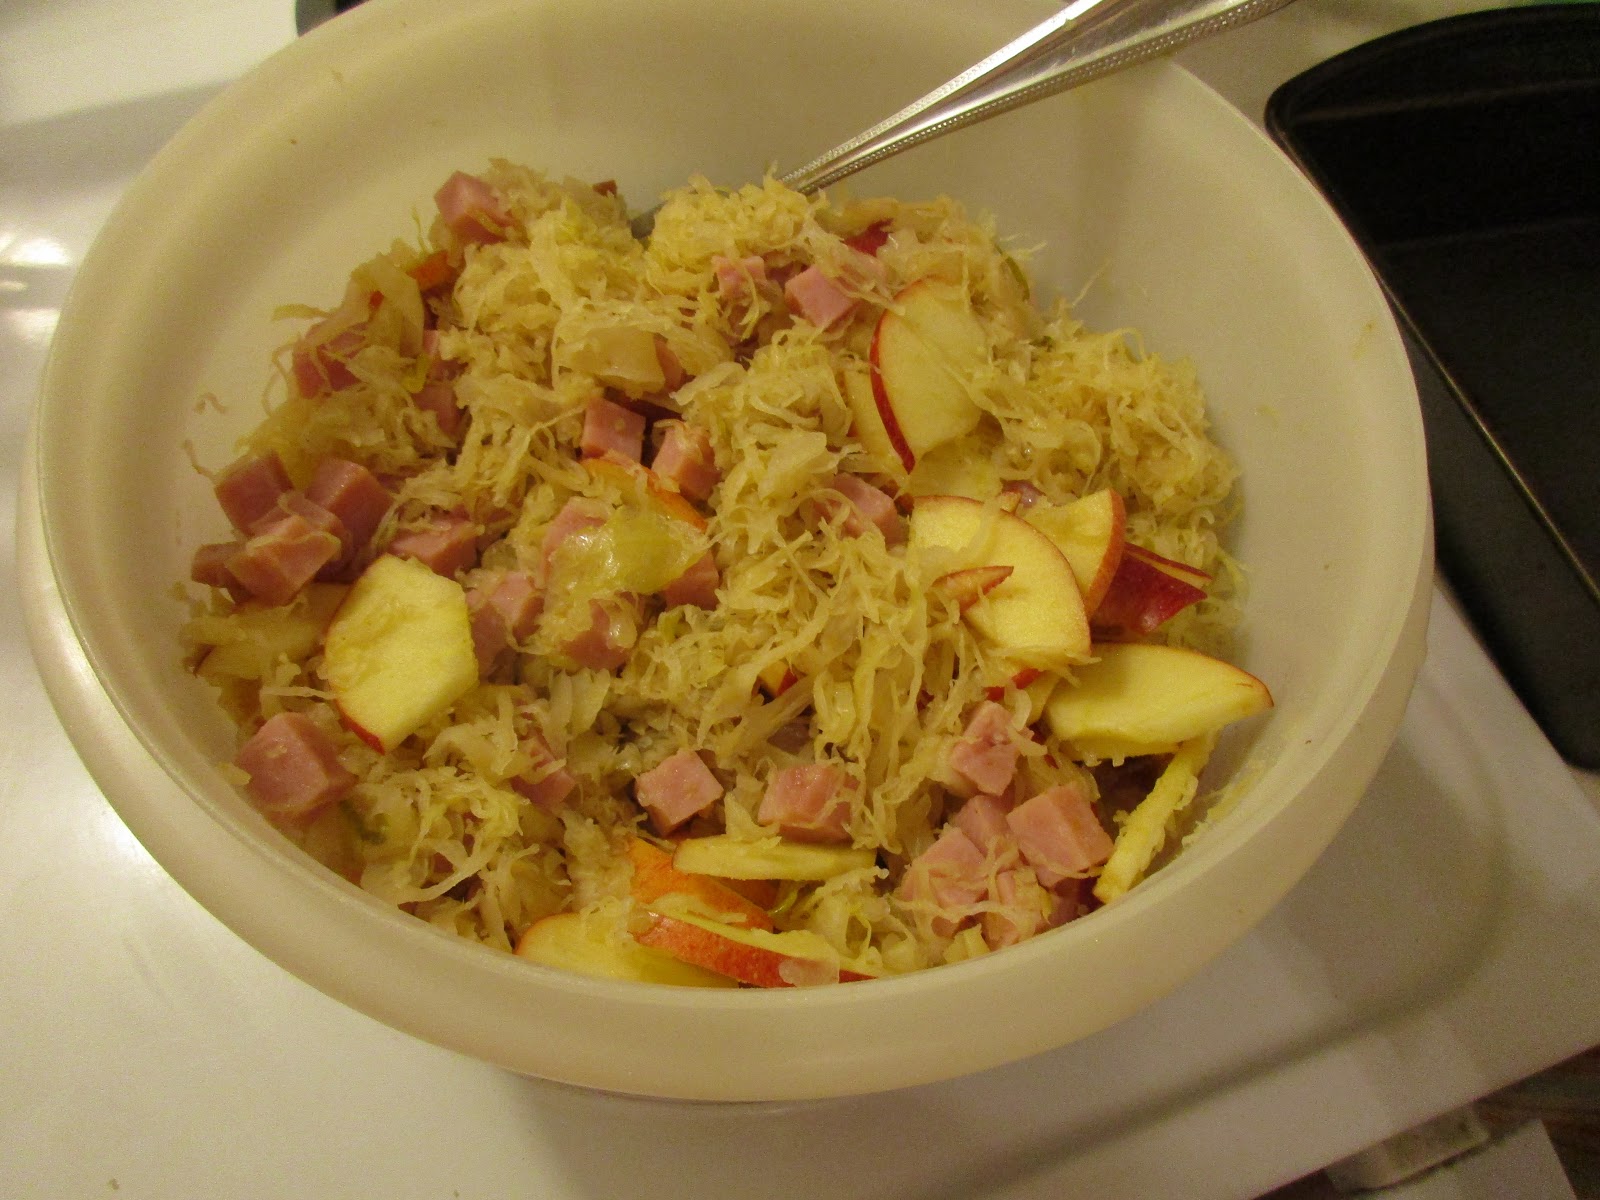
Here's the ham, first apple, and half the brown sugar all mixed together.
And here it is in the greased pan.
Core and slice the second apple and mix in the last 2 Tablespoons of brown sugar and cinnamon.
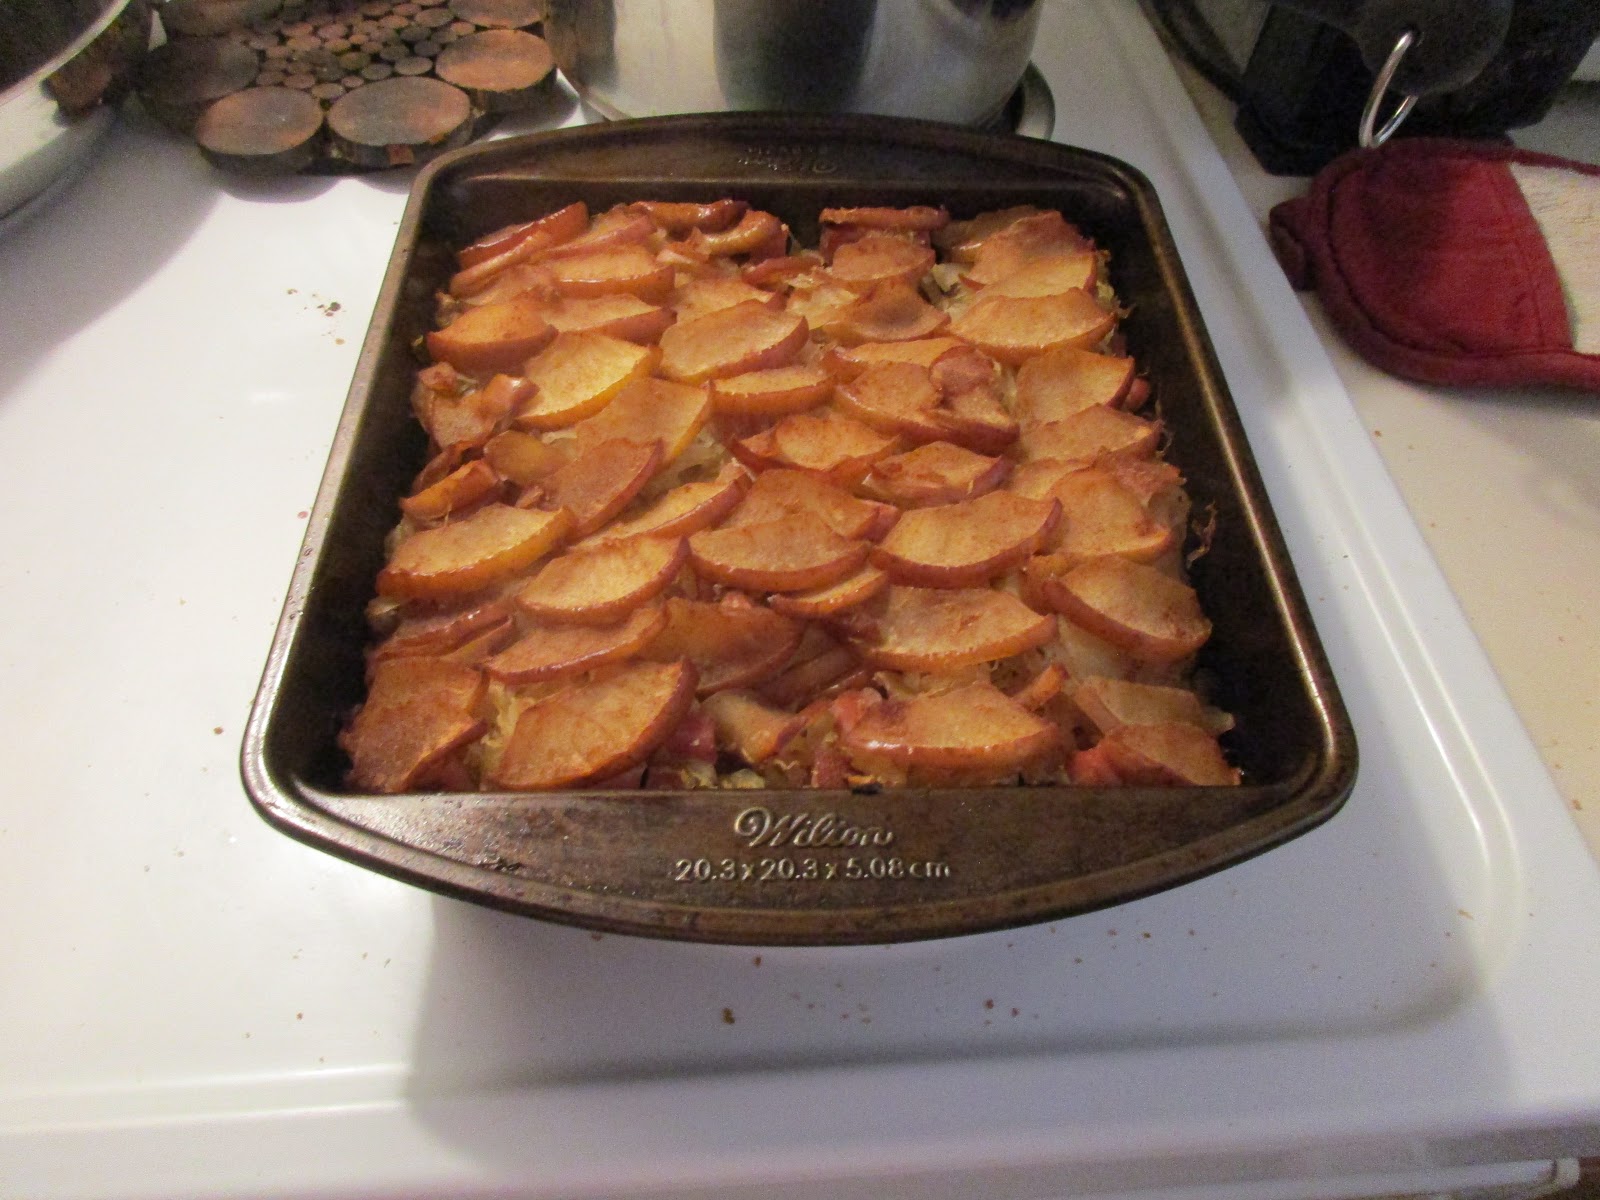
Arrange them on the top in a slightly overlapping pattern. It calls for you to cover it before placing it in the oven, so at this point you can refrigerate it  for as long as you want before baking it. This would be something you could make the ing morning or night before you bake it.
Here it is, out of the oven, ready for lunch! I cooked basic egg noodles to serve with it, but you could use spaetzle, boiled potatoes, roasted potatoes, or whatever you feel like as a side.
Here's the finished product on the plate. I mixed the noodles in with it and ate it altogether. The sour, salty, and sweet all blended well together but I found it ultimately too sweet. I would probably cut the brown sugar in half next time. I used "Envy" apples with are red, have a great texture, but are really sweet. I would say Granny Smiths would be a good option, but it won't have that lovely touch of red from the peel. Look for a red apple that isn't too sweet. Not sure what kind that might be, but based on this being a recipe from 1966, "red apple" probably meant Red Delicious, as gross as those can be. Maybe it would work? I also wanted to add some caraway seeds to this, which isn't called for in the recipe, but I think it would be a great flavor in this mix.

This was a really simple recipe that sauerkraut lovers will enjoy a lot. Alter the sugar content and type of apples if you want it less sweet. This dish reminded me of Easter dinner in our family and my sister commented that it smelled like Easter. It would be a good alternate dish if we ever wanted to try something different but similar at the same time. Maybe I'll make this for next year's Easter so my grandmother can try one of her own recipes she saved over the years!

Happy Cooking!
-Foodie